Projects - Mixed
Restoring a Pachinko Machine
My dad brought 3 pachinko machines back from Japan in about 1964. I've hung on to one of them since then and it's followed me from place to place and even getting played occassionaly. But, as is the case with old machinery, it started looking pretty tired and the mechanism always needed fiddling with to keep it going. In July of 2014 I decided to bring it back to life, both in looks and in functionality.
Cleaning the Rear of the Machine
Cleaning and adjusting was all it needed and the former was the real task. The machine is a mix of brass and steel parts in the rear with a plastic-coated play field in the from containing over 300 brass pins. I though about trying to clean everything in place but gave it and disassembled 95% of the works, including pulling all those pins. I took quite a few pictures to aid in the reassembly process.
The steel parts had quite a bit of surface rust. I soaked them in Evapo-Rust, a great product that is non-toxic and removes the rust without much scrubbing. It does take a while and I soaked most of the parts for several hours.
The brass parts were heavily oxidized. I first soaked them in a homemade solution of vinegar, salt, and water. This did most of the work but left a slight pinkish cast to the metal. For the rear mechanism, I didn't really care about the appearance but did touch up a few areas with Brasso.
The remaining parts were cleaned with water and a bit of Simple Green where required.
Cleaning the Front of the Machine
The front of the machine had lots of challenges. All of the parts that were originally chromed had rusted and getting them rechromed was not going to be an option, primarily because of the expense. This included the door frame, the trim pieces around the frame, and the flipper stopper. I removed the rust by soaking them as above and then used a wire wheel to smooth out the surfaces. I then sprayed them with a self-etching primer and finished with a coating of Dupli-Color High Performance Wheel Coating in silver.
I polished the aliminum pieces with a metal polish. The plastic pieces were cleaned with SImple Green. The flipper handle and flange were in pretty good shape and were brought back to life with chrome polish.
The play field was not difficult to clean but was tedious. It appears that the image and green background are made of a laminated paper product. I found that Simple Green worked well to clean off the old dirt and rust from the old balls, but if liquid got to a hole where a pin was, it would go between the laminate layers and create a discoloration. This meant that much care had to be taken and I went through quite a few Q-Tips in the process.
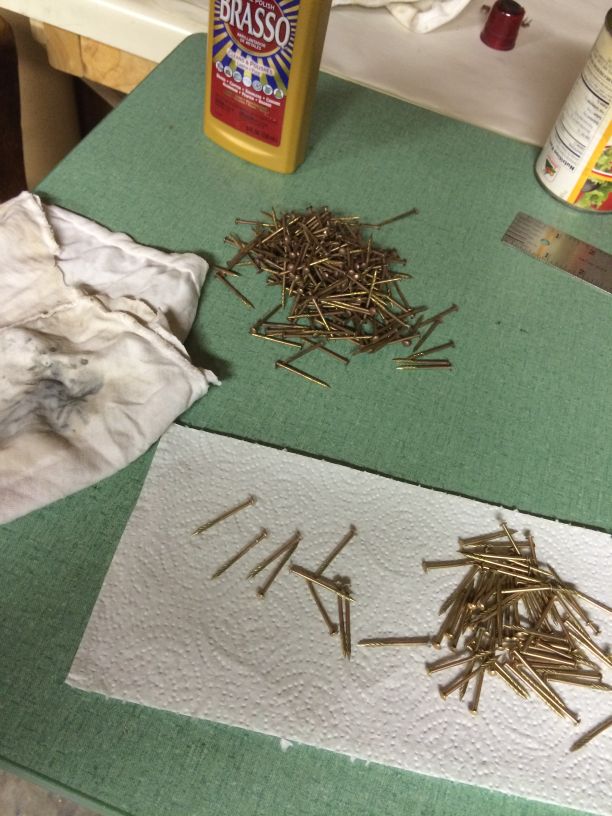
The pins were a whole project of their own. I knew that removing them was the best way to clean them but was concerned about damaging them during that process. I ended up making a small wooden wedge that worked well with a small Stanley pry-bar. Each pin has spiral threads on the bottom 1/2-inch of its shaft which means that the rotate as they are removed. I had to work each one slowly to try to keep the pin from bending and from damaging the head.
Once removed the pins received a soaking in the vinegar/salt solution and then I hand polished each one with Brasso. Not wanting to go through that again, I tapped the pins into several pieces of scrap wood and sparayed on a coating of lacquer that should prevent them from oxidizing in the near future.
I anded the wooden case, applied a light-colored stain, and srayed it with lacquer. I built a new frame and stand to mount the machine in.
Reassembly
Reassembly was the reverse of the disassembly although time was taken to adjust and test things along the way. Replacing the over 300 pins took longer than I thought since some of the pins had a slight bend in their shafts from the removal process requiring a bit of straightening to get them to line up in their original design. A further amount of tweaking to the pins was required to have the machine "pay off" about even.
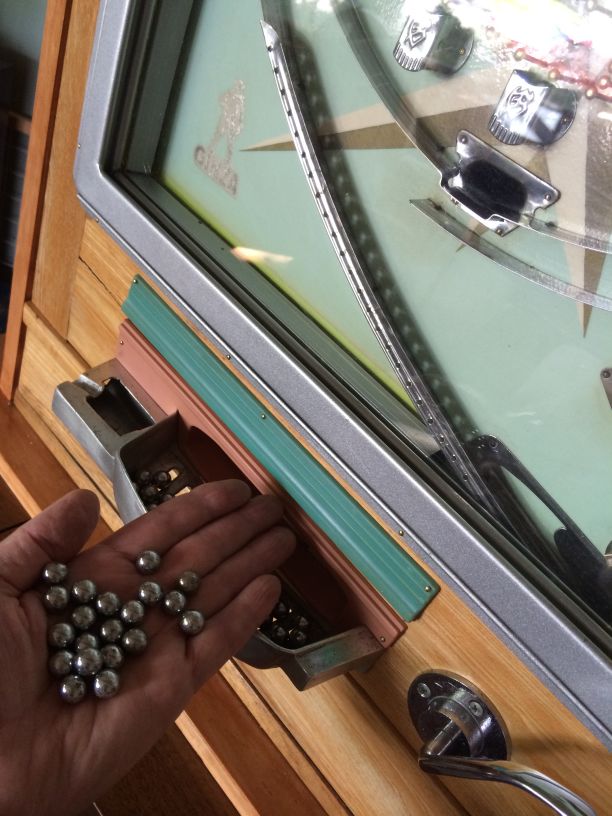
The original balls I had for the machine were grimy and rusty. I soaked them in the rust remover, leaving a near black patina. When I received the machine 50 years ago I had an extra box of new balls with it and, luckily, I had never used them. I decided it was time to do so. They have a chrome-like finish and are engraved and painted. They look great in the restored machine.
As I write this I have two remaining tasks. One is to reconnect the electrical system which consists of two lights. One lights up when the machine is out of balls and is behind a lens in the play field labeled "Stop." The other lights up behind the red center-piece when a "jackpot" is won. I plan to use some super-bright LEDs.
The second task is to replace the acrylic panel in the door with a piece of glass. The acrylic was placed in the machine by my dad when he got tired of hearing the noise generated by the balls pinging on the glass. I'd like to get the original sound back.
It has been a fun project and it's great to see what I now suppose is a sort of heirloom back in action offering its unique form of entertainment.
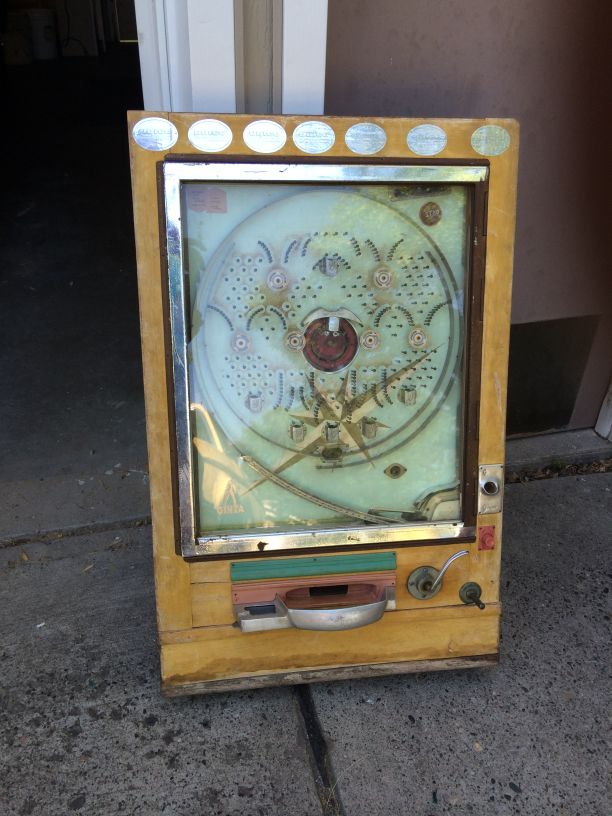 | Front view before restoration |
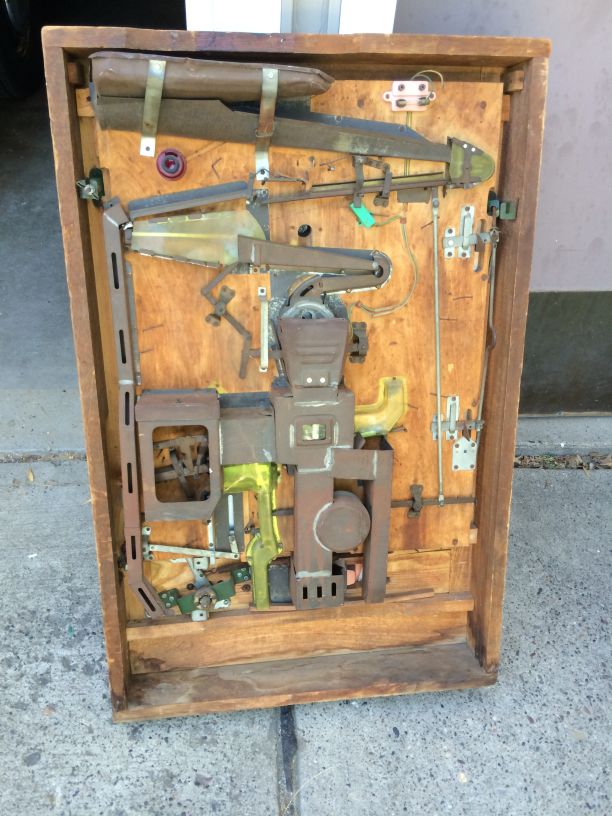 | Back view before restoration |
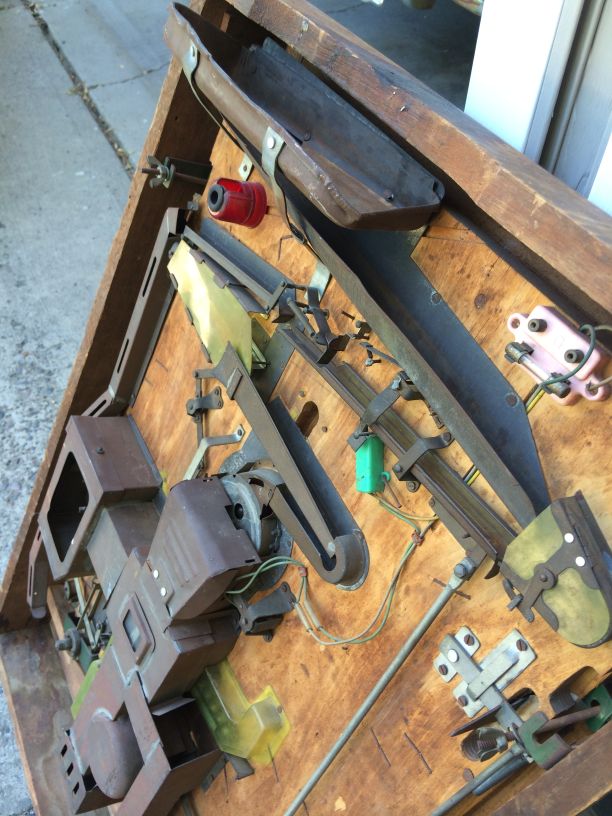 | Back view, close-up, before restoration |
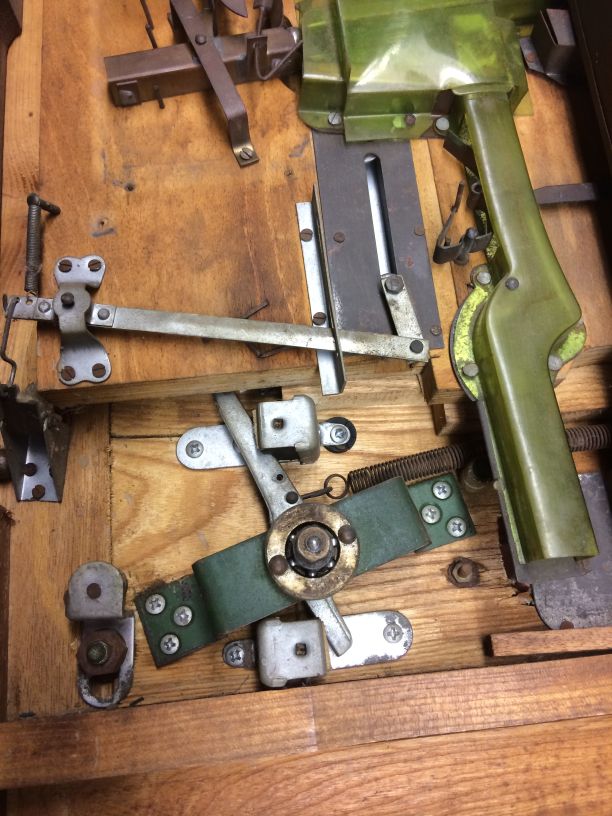 | Back view, close-up, before restoration |
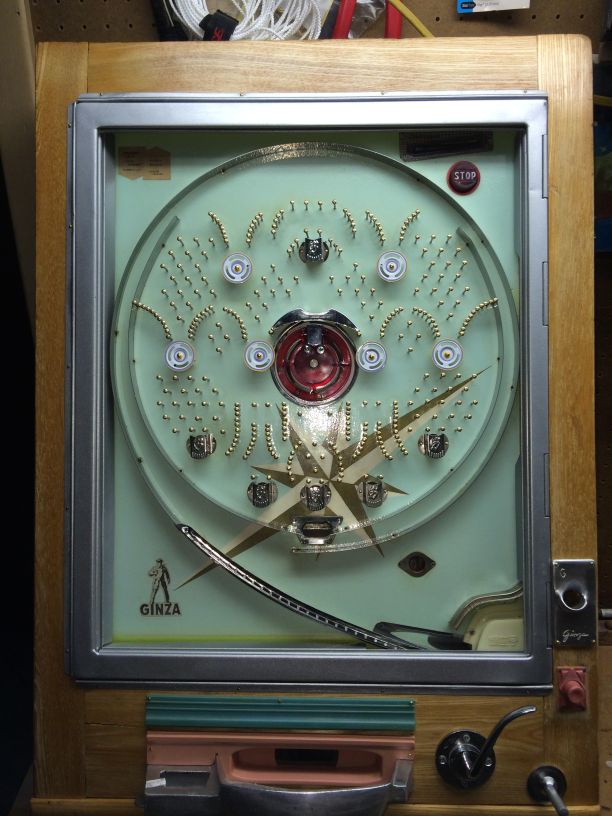
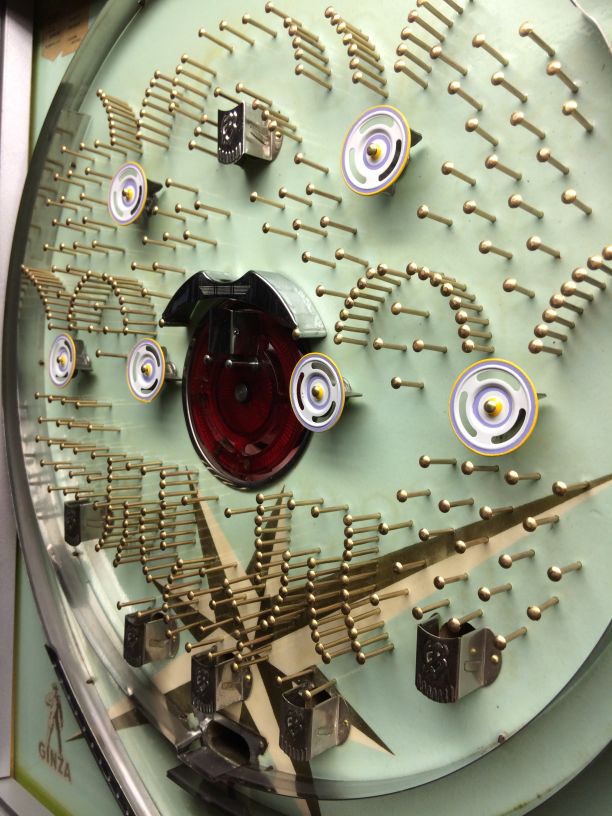
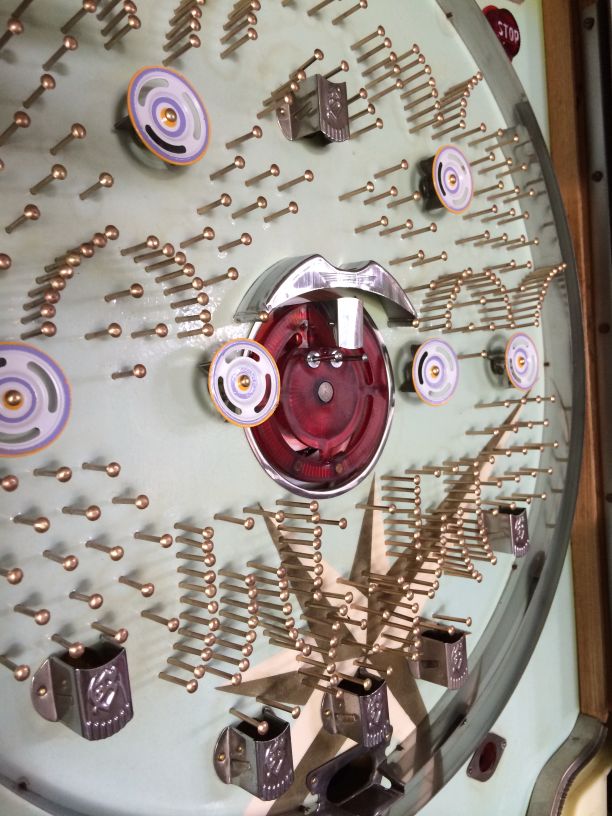
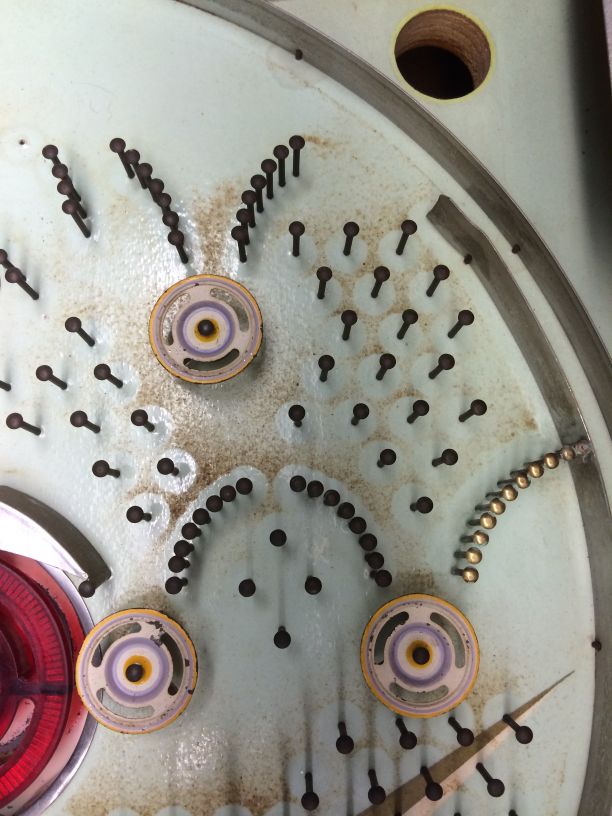 | Play field, close-up, before restoration |
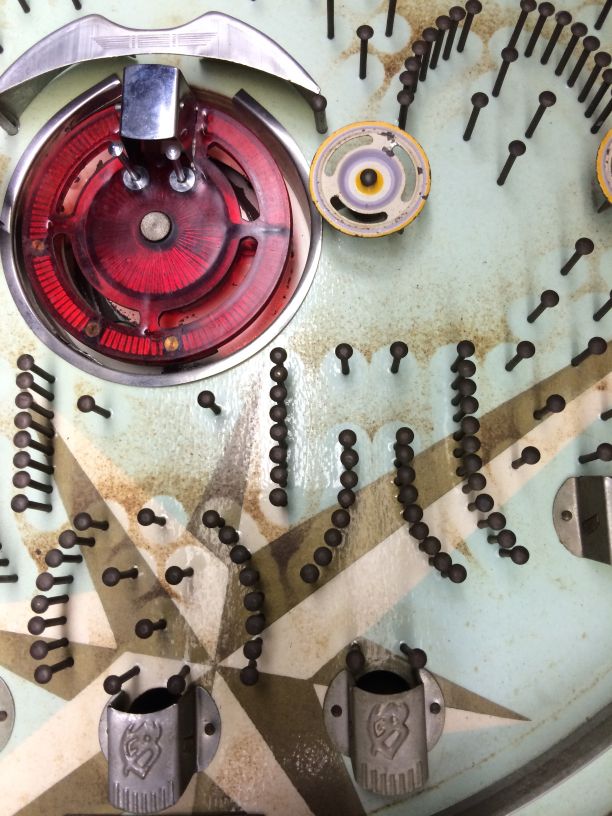 | Play field, close-up, before restoration |
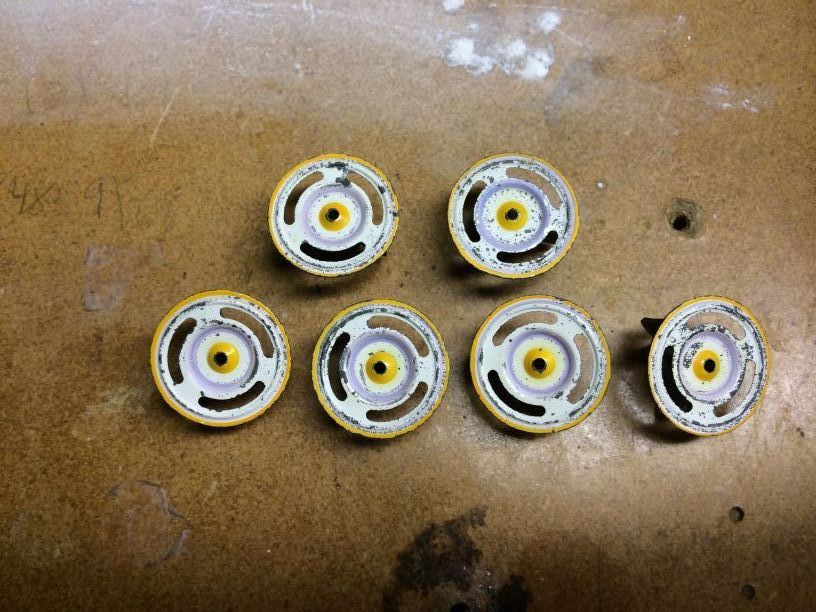 | Close-up the spinners before restoration. |
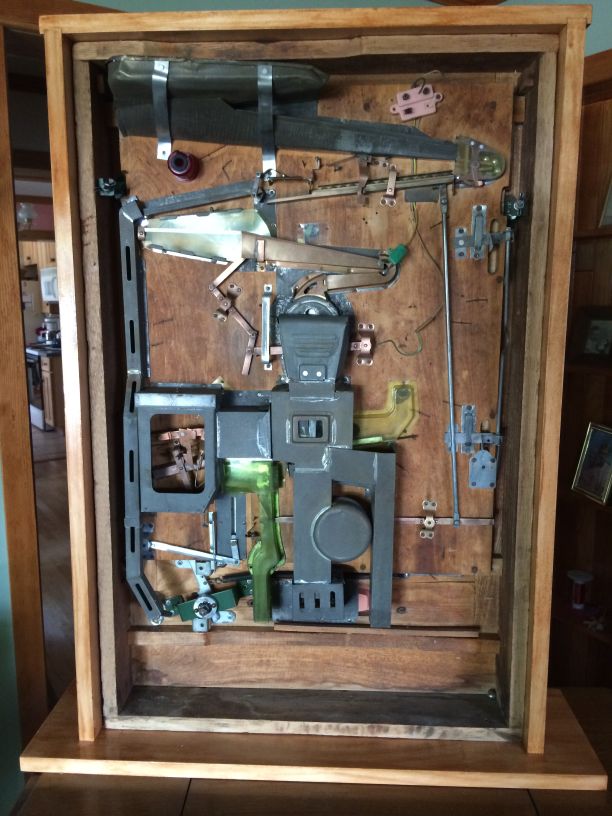
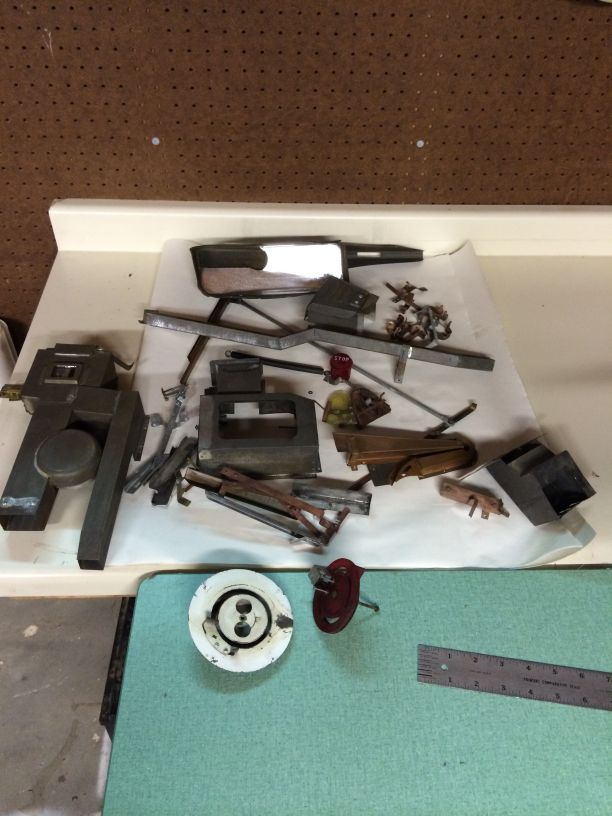 | The rear mechanism disassembled. |
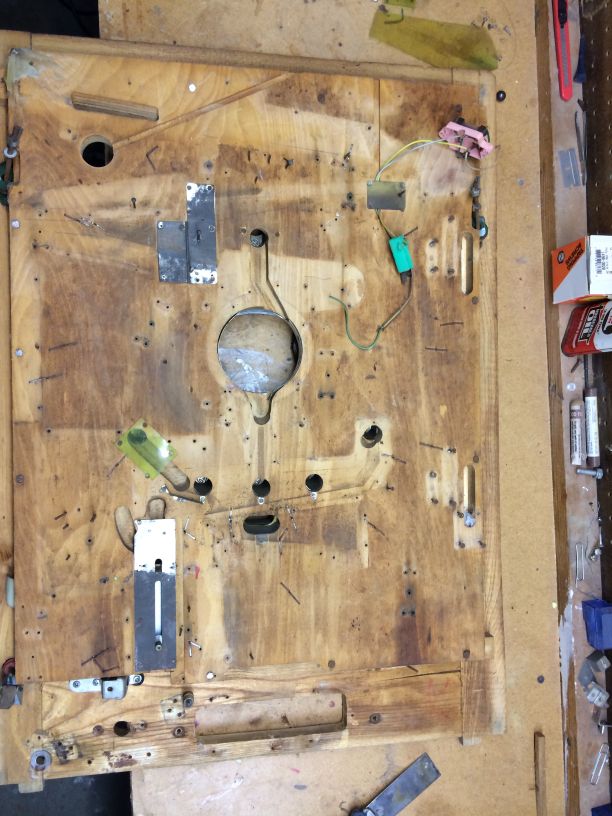 | The back with the mechanism removed. |
 | The back with the mechanism removed. |
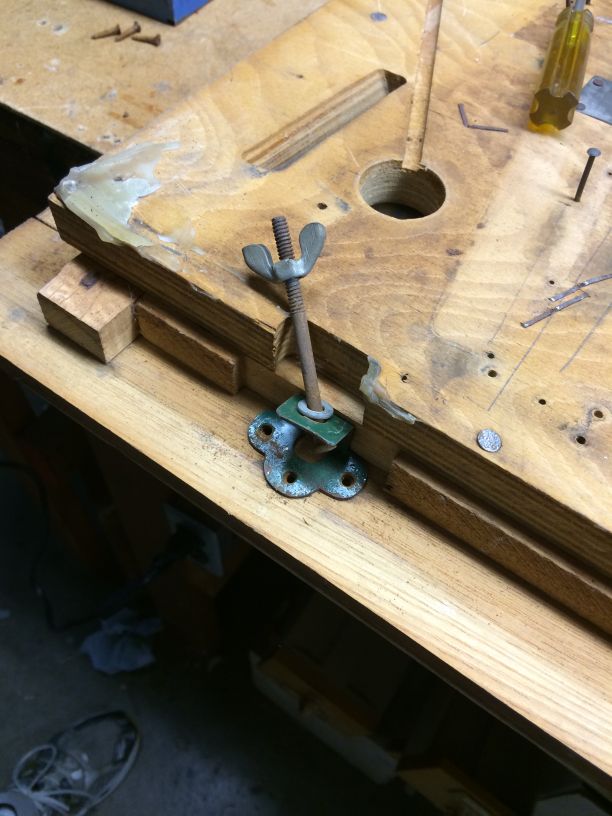
 | Removing the pins. |
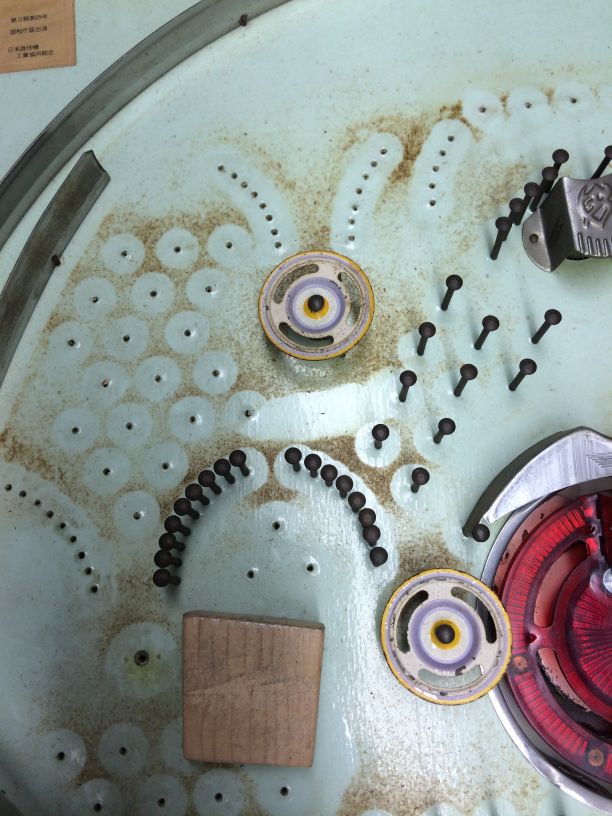 | Close-up of the play field with some pins removed. |
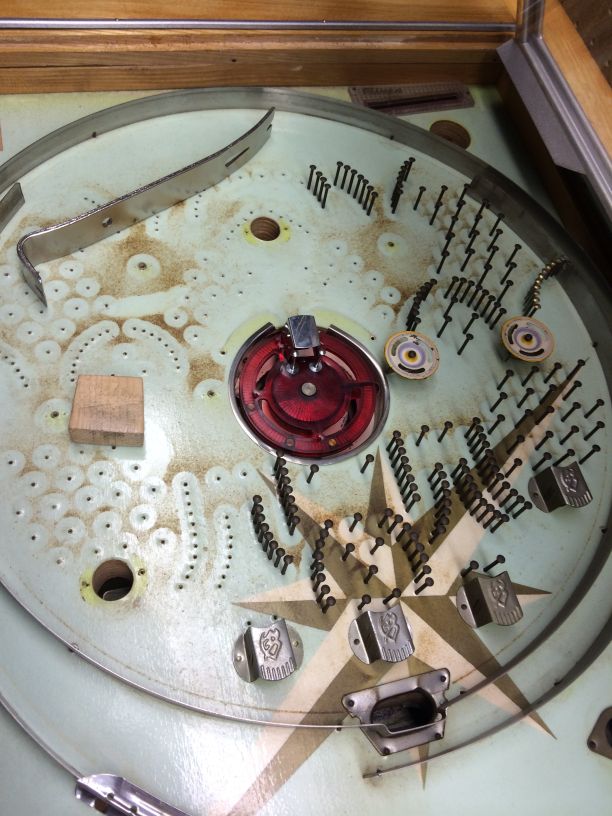 | Close-up of the play field with some pins removed. |
 | Polishing the pins. |
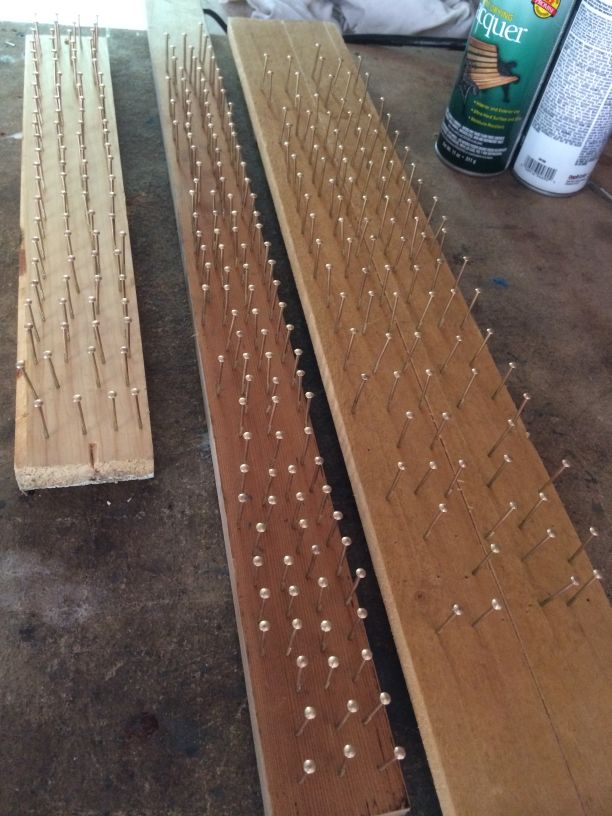 | The pins awaiting lacquer. |
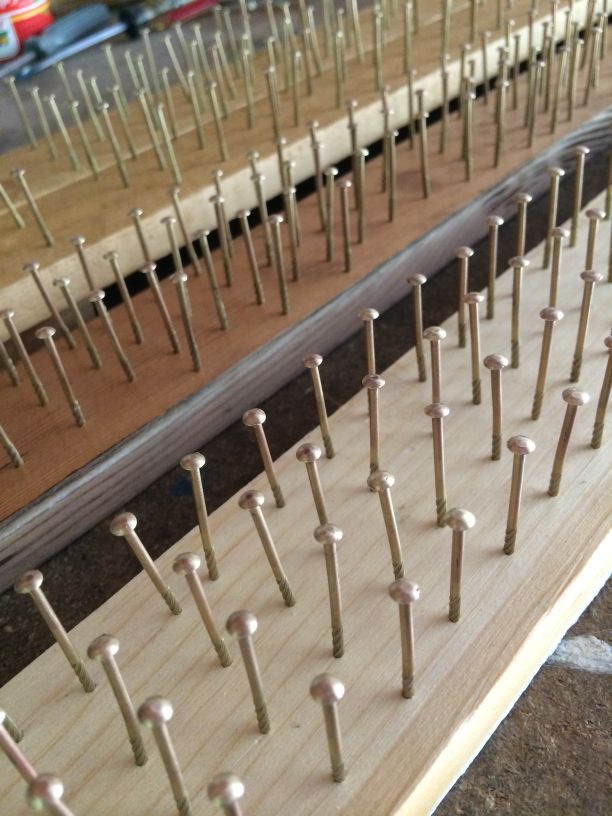 | The pins awaiting lacquer. |
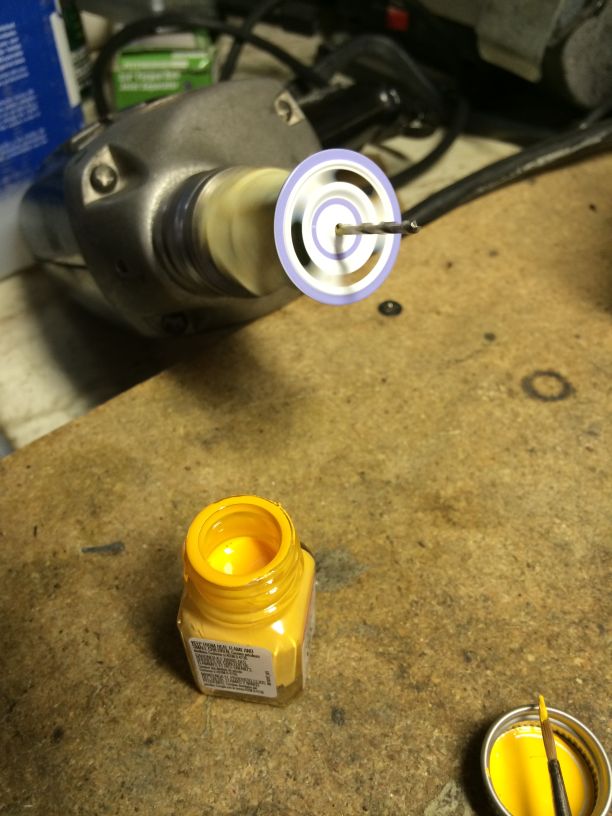 | Painting the spinners. |
 | Finished front. |
 | Close-up of the finished front. |
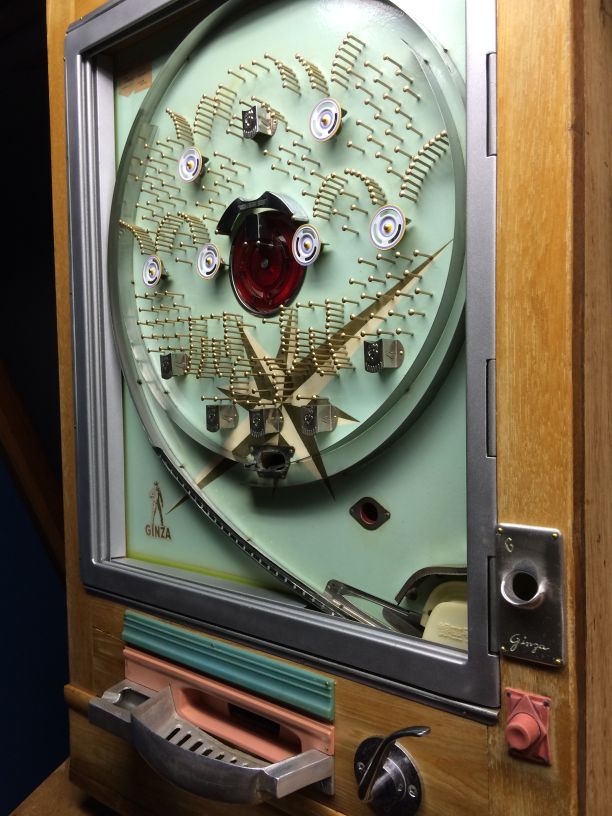 | Finished front. |
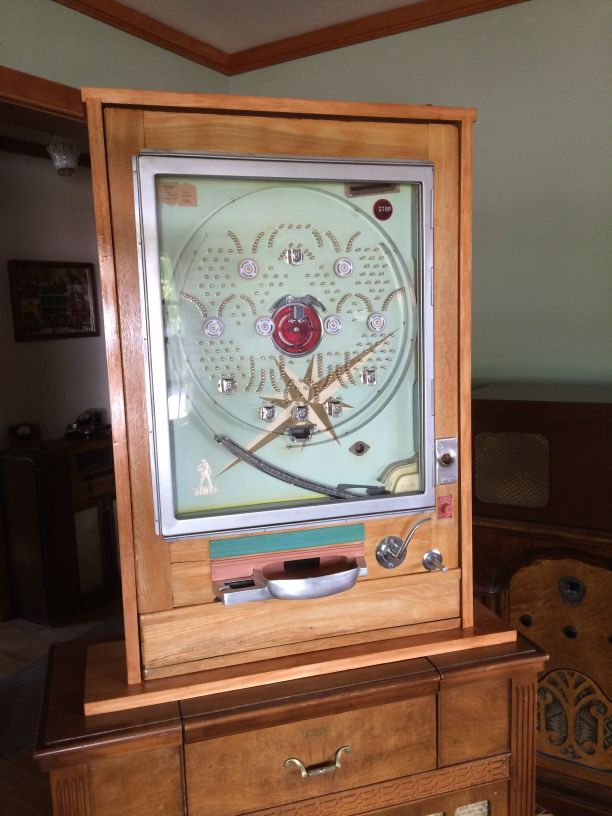 | Installed in the new box stand. |
 | Close-up of play field. |
 | Finished rear mechanism. |
 | Ready to play. |
Pachinko Play