Go right to the: Pictures - Plans
This is a camera that uses a lens, in this case, a 245mm, f/5.6 lens from an old copy machine. I am reusing the sliding, removable back from Camera #2.
While you could duplicate this design, I suggest that you look it over, and then make your own from whatever materials you have on hand, as I did.
Materials
Camera Back
- 3/4" lumber, like pine, oak, whatever
- a couple hinges and a hasp
- some felt
- a couple pieces of sheet metal strip
- small nails
Camera Front
- 3/4" lumber, like pine, oak, whatever
- 1/4" thick plywood
- some felt
- plastic laminate (optional)
Other Stuff
- glue
- flat black paint
- masking tape, black photographic type preferred
Building Procedure
- Look at the plans
- measure twice
- cut once
- glue and clamp
Mounting the Lens
Your lens mount will be determined by the type of lens that you select. In my case, the lens is about 2-3/8" in diameter and has a smooth barrel. In order to add a raised rim on one end, I placed a piston ring from a Briggs and Stratton engine around the end of the lens barrel and fixed it in place with hot-melt glue.
I slid the lens into the hole of the camera body front and held it in place with a couple of screws. See the photos below.
The focus screen is made by making a duplicate of the swing-out door on the back of the camera. Cut a hole in it where the film would normally mount. Tape a piece of waxed paper in place. Put this in the back of the camera and you can see to focus.
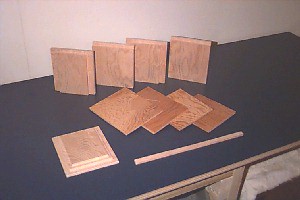 These are the parts of the camera back and front before assembly. These are the parts of the camera back and front before assembly. |
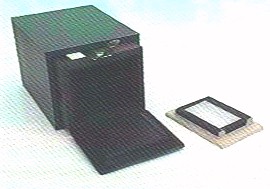
 This is the completed camera. This is the completed camera. |
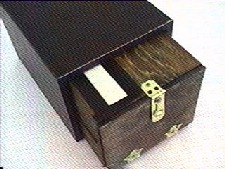 This is the camera from the rear with the back closed and the focusing scale showing. This is the camera from the rear with the back closed and the focusing scale showing. |
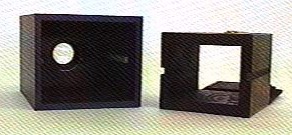 This is a view through the camera front and back. This is a view through the camera front and back. |
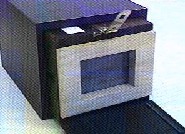
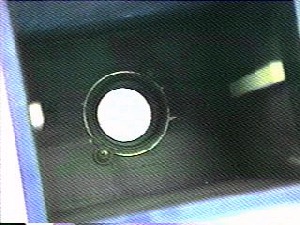 This shows how the lens is mounted inside the camera body. This shows how the lens is mounted inside the camera body. |
 This shows the focus screen next to the camera. This shows the focus screen next to the camera. |
 The focusing screen is shown in place. The focusing screen is shown in place. |
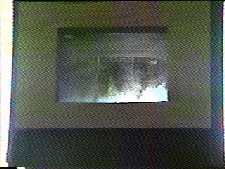 An image on the focus screen. An image on the focus screen. |
Plans
I have the following plans available for viewing.
| Dwg-100 |
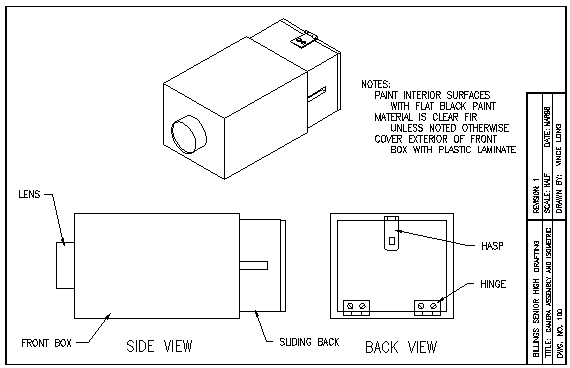
This drawing shows an isometric view of the camera and front and back views. |
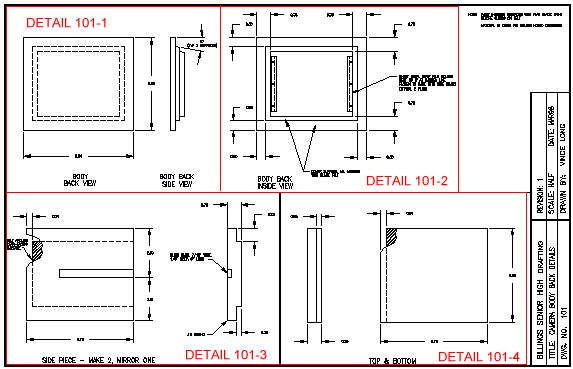
| Dwg-101 |
This is the first of two drawings. It shows the layout of the details on the sheet and the key to the details below. |
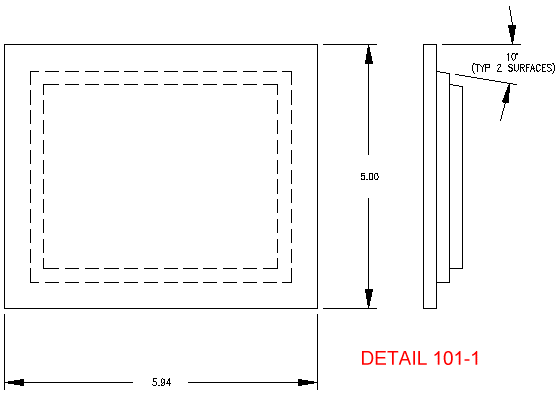
| Detail 101-1 |
Detail of the hinged back, front and side. |
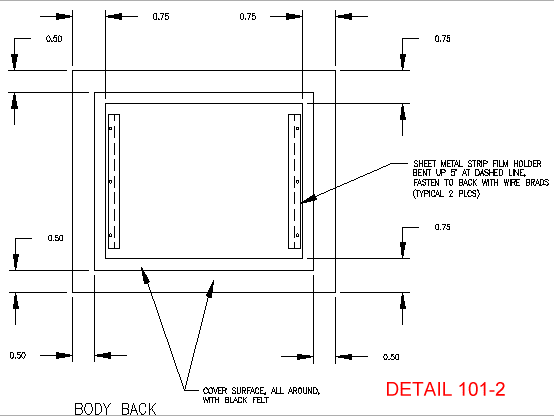
| Detail 101-2 |
Detail of the hinged back, from the inside. |
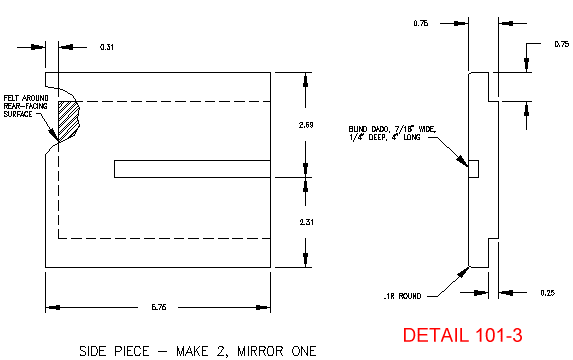
| Detail 101-3 |
Body side piece, 2 views. |
| Detail 101-4 |
Body top piece, 2 views. |
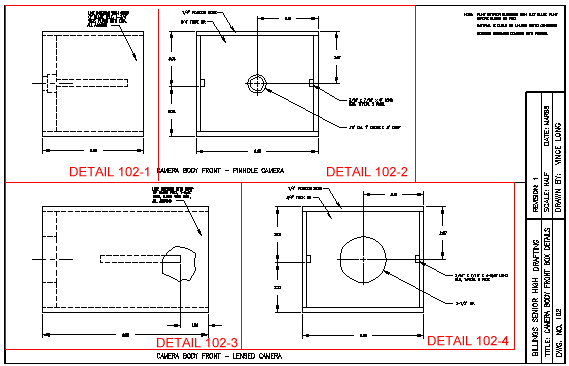
| Dwg-102 |
This drawing shows the layout of the camera body front, for both the pinhole and lensed cameras. Only links to the lensed details are included here. See the Camera #2 page for the others. |
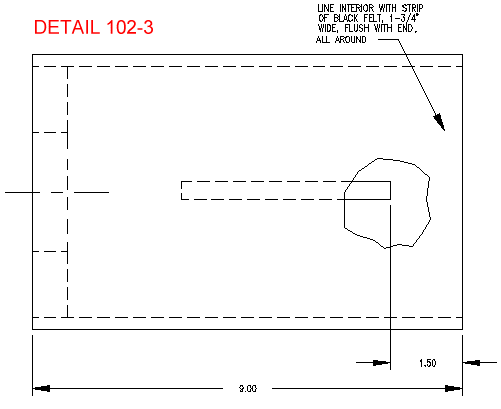
| Detail 102-3 |
Detail of the camera body front. |
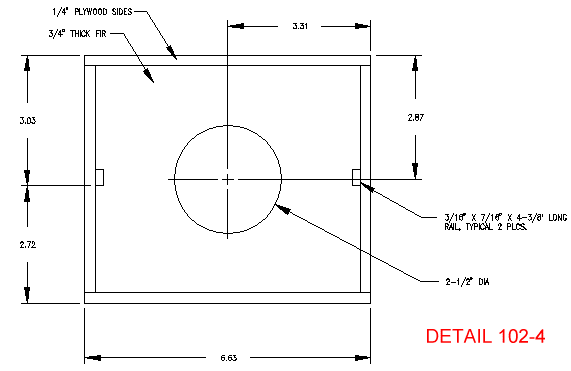
| Detail 102-4 |
Detail of the camera body front. |
|
|

