Through the Years
- The Brownie
- The 126
- The 110
- Army Years - Part 1
- Army Years - Part 2
- Army Years - Part 3
- Army Years - Part 4
- Army Years - Part 5
- Army Years - Part 6
- Working in a Photofinishing Lab
- Industrial Era - Part 1
- Industrial Era - Part 2
- The 2nd Career
- Into the Fine Arts - Part 1
- Into the Fine Arts - Part 2
Photography Hardware
Processes and Projects
- Main workshop page
- Camera Building
- Pinhole camera
- Camera obscura
- Cyanotype project
- Sabattier effect
- Posterization
- Time Shifting
Photography Galleries
Photography Class Galleries
Links
The Darkroom - Part 1
The darkroom is where the magic happpens. Over the years I have worked in eight different darkrooms, not counting the photofinishing lab I worked in:
- Army Special Services photo lab, Camp Drum, NY
- Army Special Services photo lab, Fort Dix, NJ
- Army Special Services photo lab, McCully Barracks, Wackernheim, Germany
- my parent's house in Long Beach, CA
- my apartment in Long Beach, CA
- my duplex in Long Beach, CA
- my house in Long Beach, CA
- my house in Billings, MT
While I didn't do much work in them since I had my own home darkroom, I did hang out in the darkrooms at California State University, Long Beach and Montana State University, Billings when I took photography classes there.
On these pages I'll look back on those darkrooms a bit and on at my current darkroom as well as the equipment and accessories I've collected over the years.
Camp Drum, New York - 1973
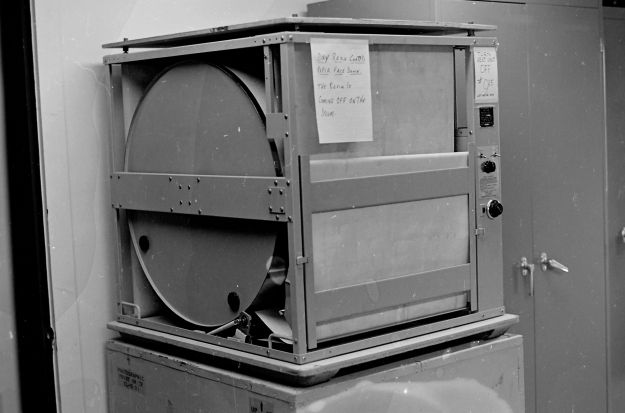
As I covered on the Army Years - Part 1 page it was in this darkroom that the spark ignited that got me hooked on film-based photography. This darkroom was small, as I rememeber it, only 4 enlarger stations. Each station was equipped with a couple lenses, a timer, the Omega enlarger, negative carriers, polycontrast filters, and an easel. The room was lit by an OC safelight, dark amber, so safe to use with polycontrast papers. At one end of the room was a large sink in which the develop, stop, and fix trays were placed. I'm hazy on how the washing was done but I think it was a separate sink at the end of the large sink. The print dryer, shown in the upper right if this page, was in another room. I am surprised that I took so few pictures of the darkroom while I shot so much of everything else.
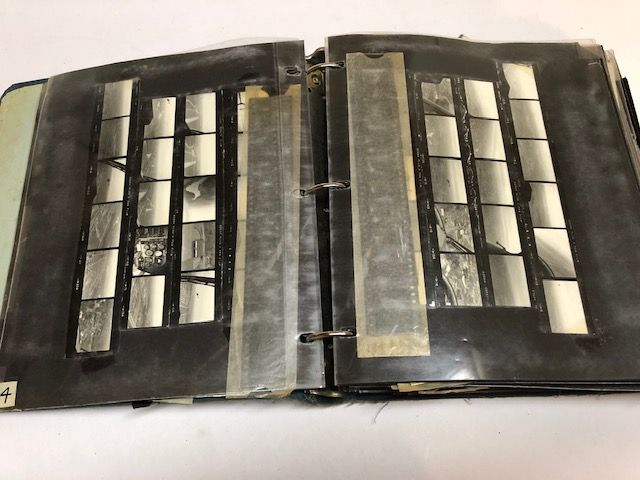 I did spend a fair amount of time there. As I look back on my negative file I shot about 2 dozen rolls of 35mm, 36 exposure film before I returned to Fort Dix in the fall. I did establish a filing system right away athough I didn't keep complete notes on each roll as I did later. After the developed film dried I would cut the film into strips and position them on a sheet of enlarging paper, place glass over them to hold them flat, and expose the sheet under the enlarger to make a "contact sheet." The negatives were slipped into a glassine sleeve, filed in a document protector with the finished contact sheet, and this was placed in a binder as shown on the right.
Fort Dix, New Jersey - 1973-1974
My memories of this lab are near non-existent, although I know I used it because my negative folder has about 2 dozen rolls that I shot during this time. I have a vague recollection that the lab was fairly spacious compared to the one at Camp Drum. It was also manned by a sergeant who knew quite a bit about photography and offered lots of help. Based on the images in my files I was shooting all snapshots of my life at that time. I traveled during my off days and have images from around Fort Dix itself, Lakehurst Naval Air Staion (where the Hindenberg crashed in 1937), the woods and bogs in that area, and planes on McGuire Air Force base which was adjacent to Fort Dix. There are also photos from Atlantic City, Washington, DC, and central Pennsylvania. I was still on the learning curve and took pictures of color wheel cards, made double exposures, tried various lighting sources, took photos of the television screen, and did portraits of my co-workers. That binder finished up with a total of 50 rolls.
McCully Barracks, Wackernheim, Germany - 1974-1975
 This Special Services photo lab was my home away from home for 14 months while stationed in Germany. As covered on the Army Years - Part 3 page, I was assigned as a guard on a nuclear missle site, working there for 24-hours on followed by 24-hours off, then repeat. During that 24-hours off I could go out and shoot some film in the morning and try get back to develop it when the lab opened in the early afternoon. It was closed on the weekends so how often I could go depended on the week since one week I would have 4 days off and the next would be 3 days off and there was always a closed day in that mix. On some off days I'd travel to do some sighteseeing, and photography, always mindful that I needed to be back and on duty at 8am the next morning.
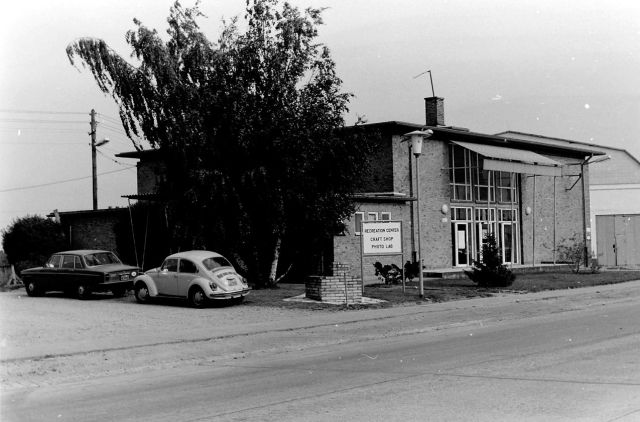
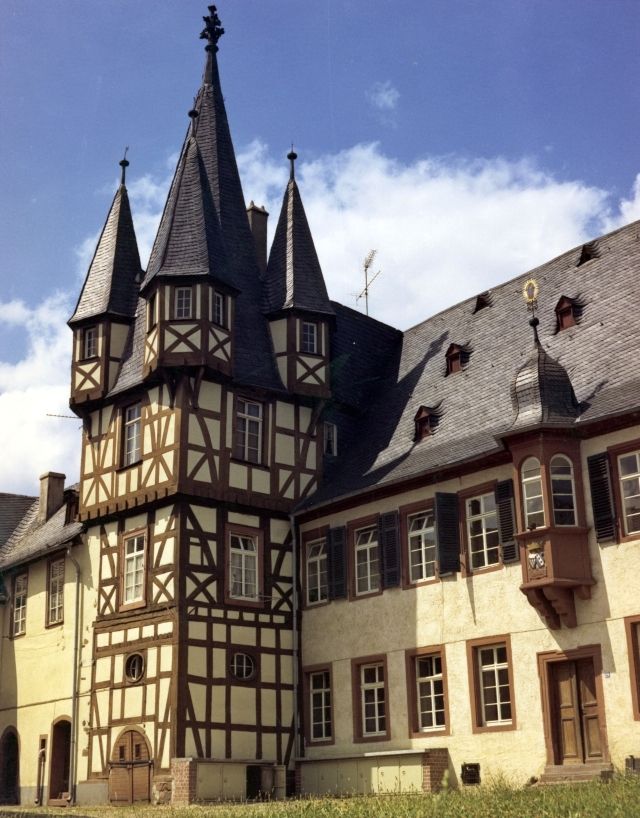
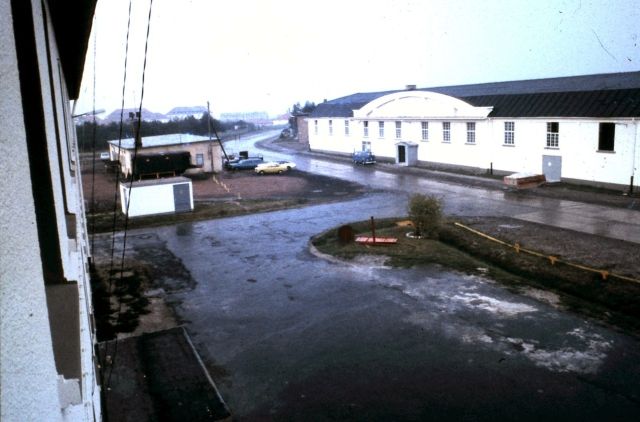 Lucky for me the Special Services building and Photo Lab were a 2 minute walk across the street from my barracks. In the photo on the left, taken from my room, it is around the corner on the far end of the white building across the street. The darkroom was very well equipped and staffed by Ernst Berg who had an extensive background in everything photographic and I owe him a lot for pushing me up that learning curve and encouraging me to always try something new. The darkroom space was fairly large and divided into two darkrooms, one for black and white printing and one for color, a film developing area, and a conversation area that also served as studio space.
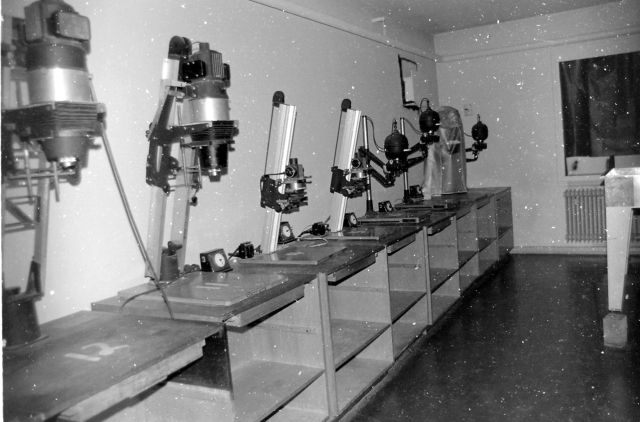
 The black and white printing lab was very roomy with 8 enlarging stations and a large developing sink in the middle of the room that could be worked from both sides. Other large sinks for washing were against an adjacent wall. The enlargers were a combination of Omega, Durst, and Beseler brands. The safelight was OC and very bright.
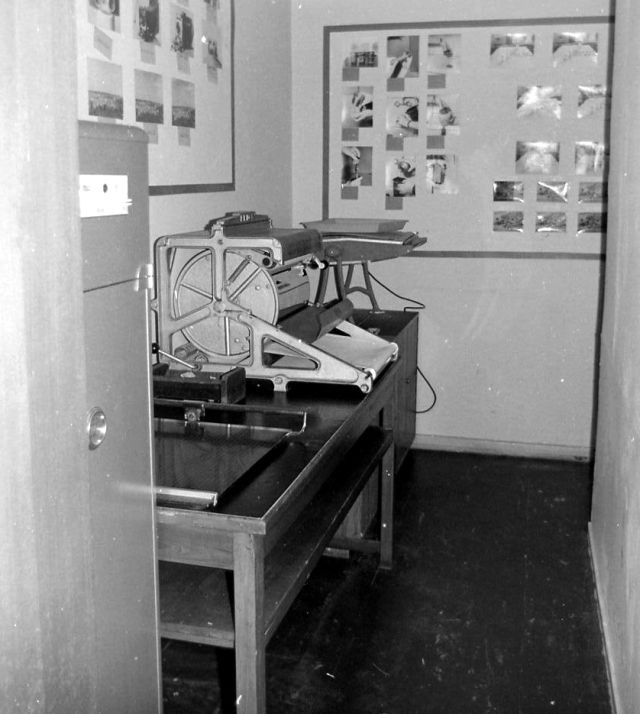 The hallway from the darkroom had a film drying cabinet, paper cutter, the large print dryer with a very good condition ferrotyping drum, and a 2-sided, flat print dryer. For workflow, this functioned quite well even though that hallway could be tight.
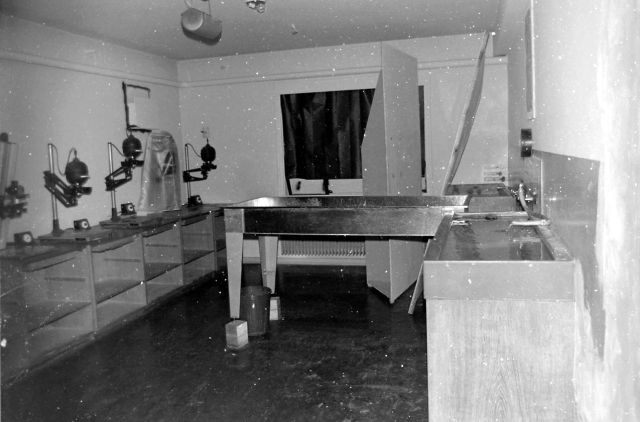
 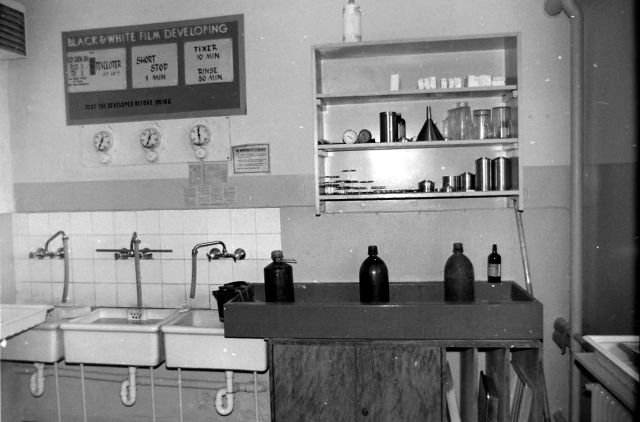 The hallway opened into the film developing area that had a large sink with developer, stop, and fix bottles and to the left, 3 sinks for washing the film. This area was very bright and had windows that looked to the north over a fruit orchard. A doorway off the film developing area led into the color printing darkroom. This room was fairly small and contained 3 enlarging stations.
 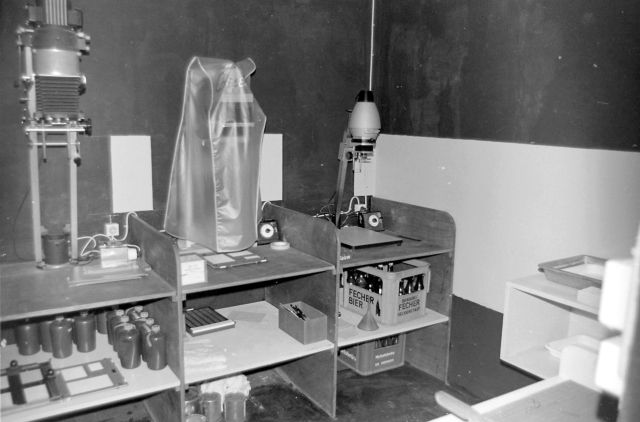 There was one Omega enlearger, a Beseler 23C, and a small, 35mm only one that might have been a Leitz. Opposite the enlargers was a sink where the developing was done in open trays. This room did double duty as the place where we could load film into tanks for developing. It had a dark green safelight, supposedly safe for color printing but was so dark it was useless. One got used to working in complete darkness when doing color.
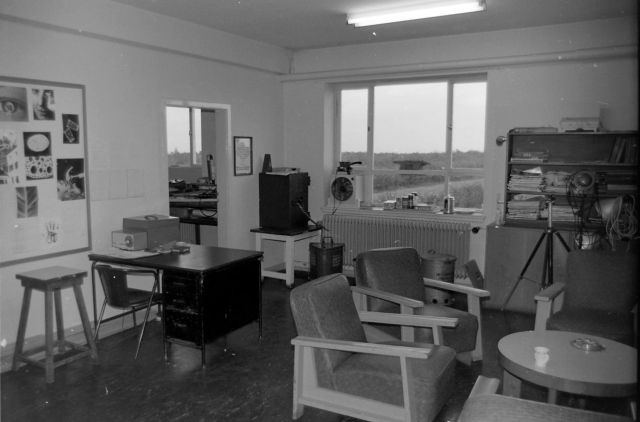 The lounge area, also used for shooting portraits, etc. was a popular hangout for us photo buffs, even if we weren't doing any work there. Conversations were generally about photography or about where one was from, but hardly ever about work, after all, most of us had a nuclear security clearance knew better than to talk shop away from the shop.
Next door to the photo lab, which was on the second floor of the building, was the crafts and woodworking area. It was run by a gentleman named Frank. He was an American who had served in the military in Germany, married a German woman, and stayed in the country after his term was up, going to work as a civilian employee of Special Services. He was a great guy, funny, very skilled in a variety of areas, and a wonderful teacher. Unfortunately, not too long before I left the country, Frank was killed in an automobile accident on the way to work. We were all crushed. So very sad.
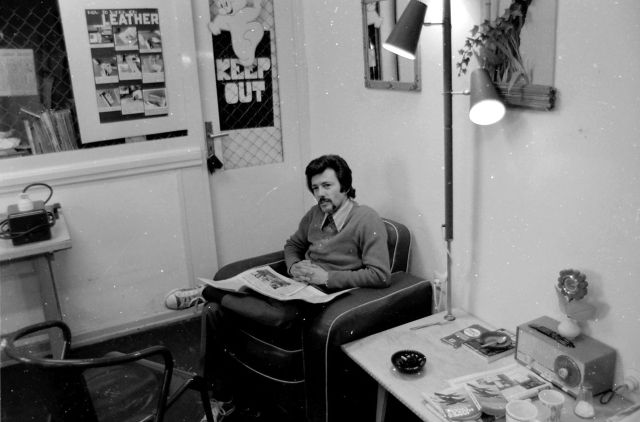 Frank relaxing |
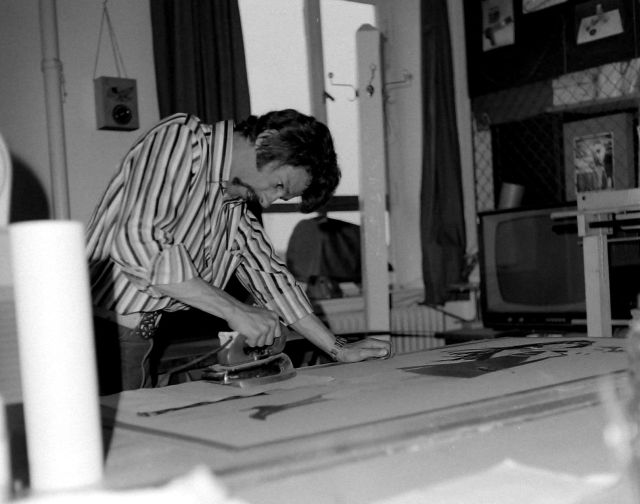 Frank working on a project |
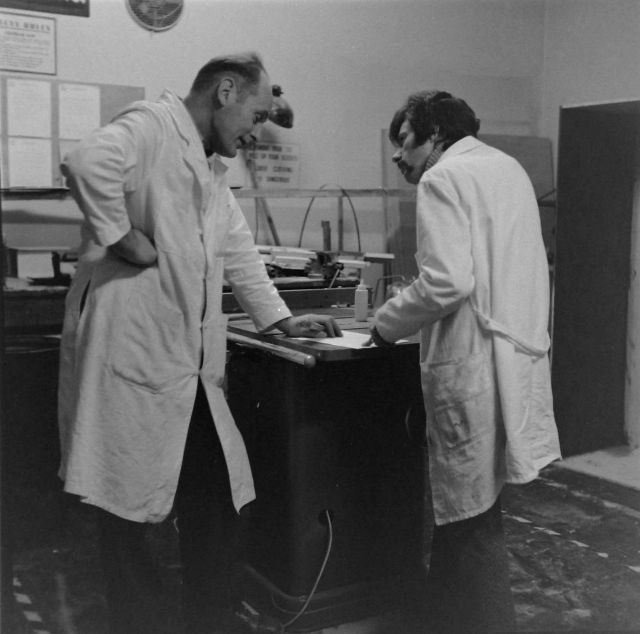 Frank and Ernst working on a project |
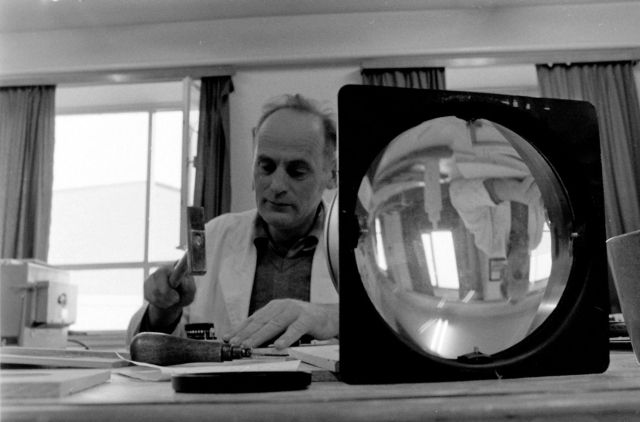 Ernst working on a project |
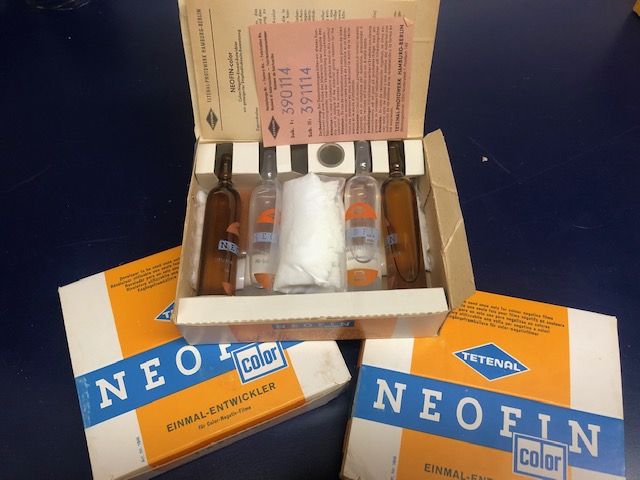 One of the best processes I learned in that photo lab was how to print color film. The negative developing was similar to black and white with a little extra attention paid to temperature control. I used a Tetenal Neofin color kit, shown on the left, to develop the film.
However, the printing process was much more involved. While the manipulation of the enlarger was the same, the color negative contains multiple layers of color dyes and the balance between them, exposure-wise, is controlled by the use of color filters placed in the enlarger between the light source and the negative. These filters were varying densities of yellow, magenta, and cyan, with yellow and magenta being the ones most commonly used. We would start of with a guess at the filter pack, something like 40 yellow and 15 magenta. We would then make a standard exposure wedge test strip and process it. 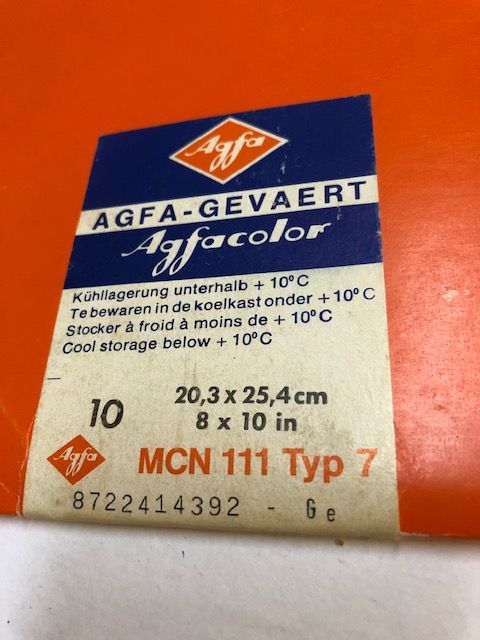 The processing, done in an open tray at room temperature, took about 20 minutes from start to end, all in near darkness except for that dim, dark green safelight. After a brief wash, the test print had to be dried since the colors will change between wet and dry. Once dry it could be evaluated. If the print looked too blue, more yellow was needed. If it looked too green, add more magenta. How much to add came from experience. Eventually I would get a good color balance and make the final print. The paper we used was by Agfa, shown on the right, and the chemicals, provided by the lab, were Agfa as well.
Here are two scanned prints on that paper from those sessions.
 |
 |
In addition color printing I also spent lots of time learning to control the Sabattier effect which I cover on the Sabattier effect page.
I have many good memories of my time spent in that Special Services building. It seemed to help make the 14 months go by a bit faster considering that the other half of my time was, well, quite boring and, due to the lack of sleep I missed during my 24-hours on, tiring.
Just before I was about to return stateside, Special Services opened a photo lab in Frankfurt and were looking for someone to run it. Ernst told them about me and the manager came over for a chat. He said I could ETS (expiration term of service), that is, exit out of the military there in Germany and take this job in Frankfurt, much like Frank had done. This was something out of the blue and not an option I had ever considered. I thought about it for a few days but felt that I had to decline. I had some unfinished business to attend to back in the states and wanted to pursue a different career path, although I wasn't totally clear on what that was. This is one of those things in life that can be looked back on and one can play the "what if" game.
Click to goto to the next page: The Darkroom - Part 2
Click on an image to enlarge it.
Updated January 2021.