Through the Years
- The Brownie
- The 126
- The 110
- Army Years - Part 1
- Army Years - Part 2
- Army Years - Part 3
- Army Years - Part 4
- Army Years - Part 5
- Army Years - Part 6
- Working in a Photofinishing Lab
- Industrial Era - Part 1
- Industrial Era - Part 2
- The 2nd Career
- Into the Fine Arts - Part 1
- Into the Fine Arts - Part 2
Photography Hardware
Processes and Projects
- Main workshop page
- Camera Building
- Pinhole camera
- Camera obscura
- Cyanotype project
- Sabattier effect
- Posterization
- Time Shifting
Photography Galleries
Photography Class Galleries
Links
Posterization
Making the Tonal Filters
I am referring to the images made in this part of the process as "Tonal Filters" because that is what they do. They consiste of a pair of films, a negative and a positive, representing different exposure levels from the orginal negative. Later in the process, these "sandwiches" can be printed on a larger piece of film that I refer to as "Master Filter." While at first this might not make much sense, it should become clearer as we go through the steps.
Selecting the Original Image
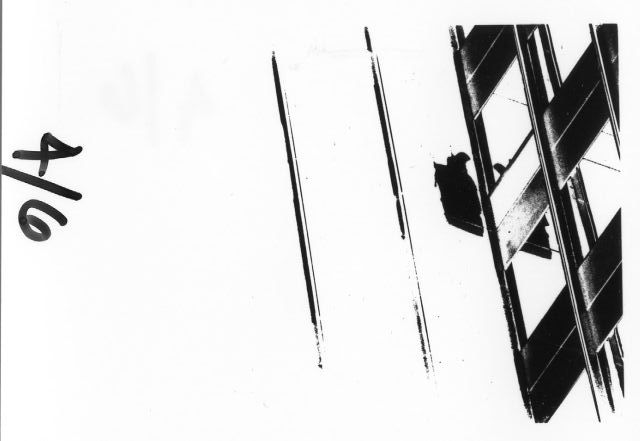
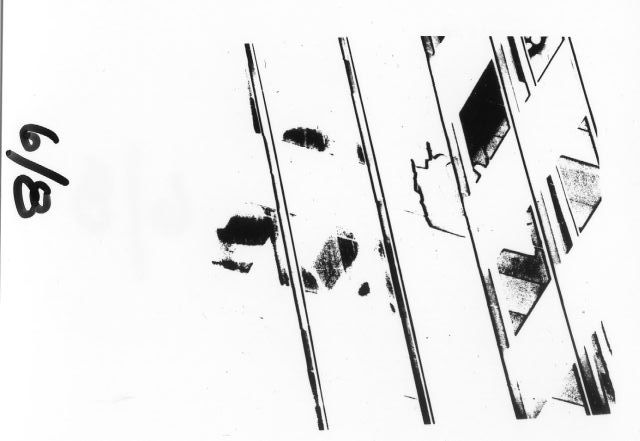
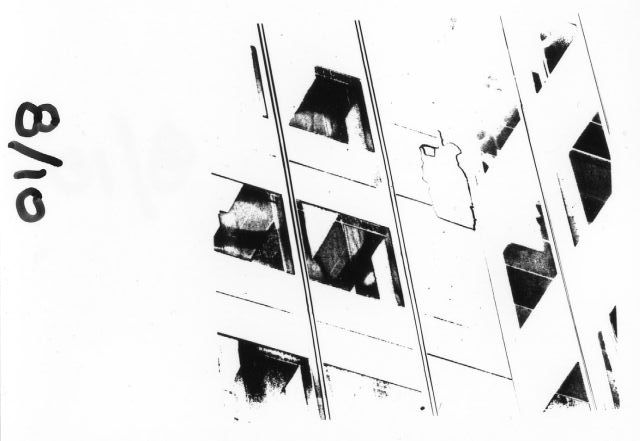
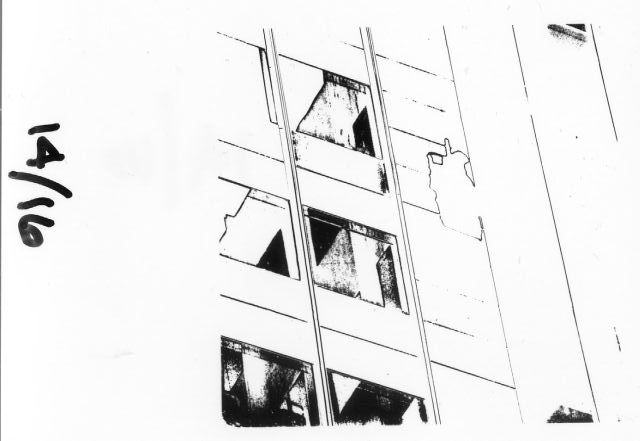
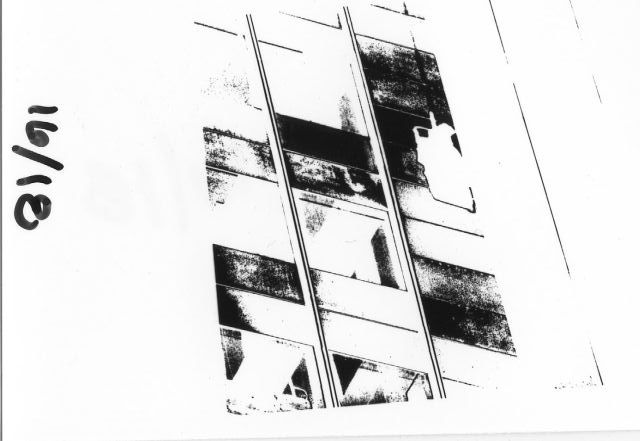
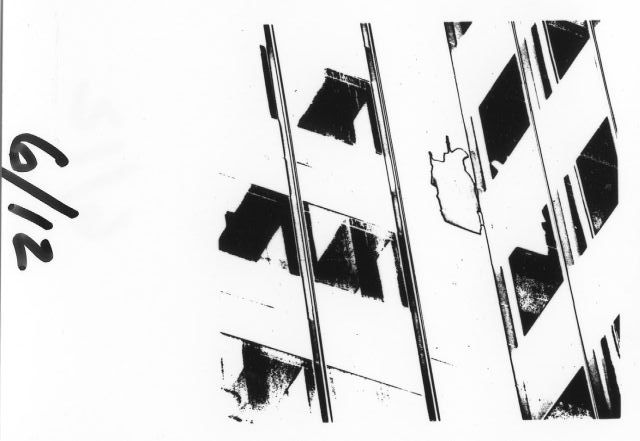
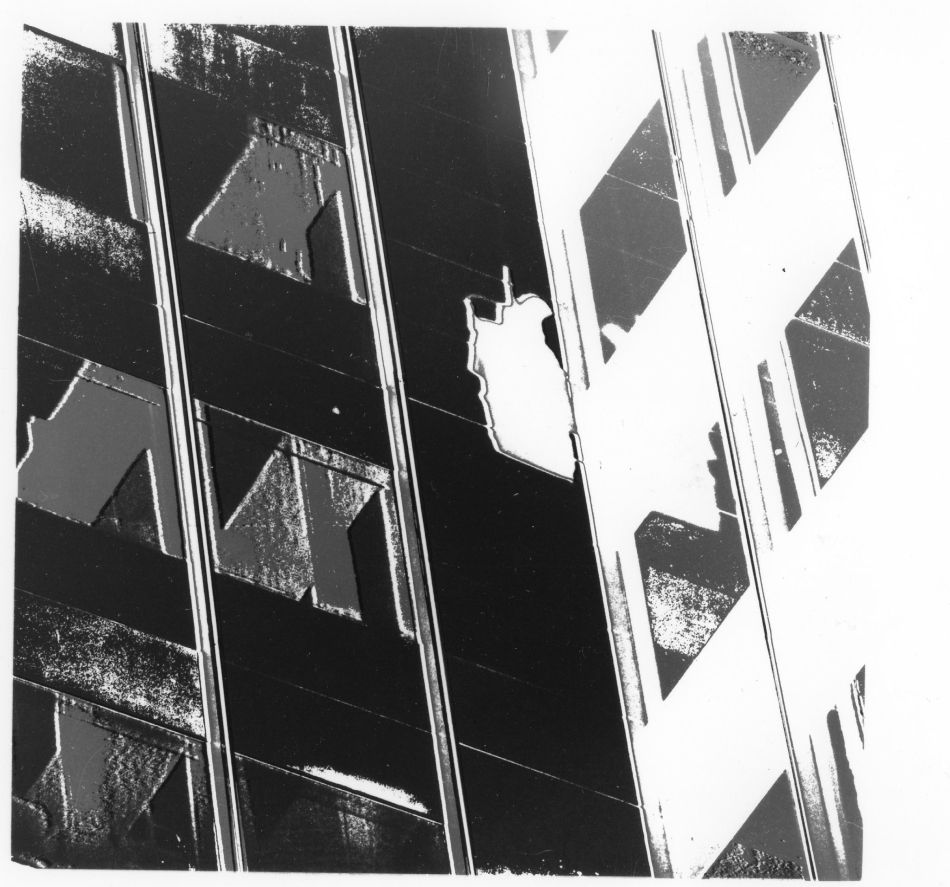
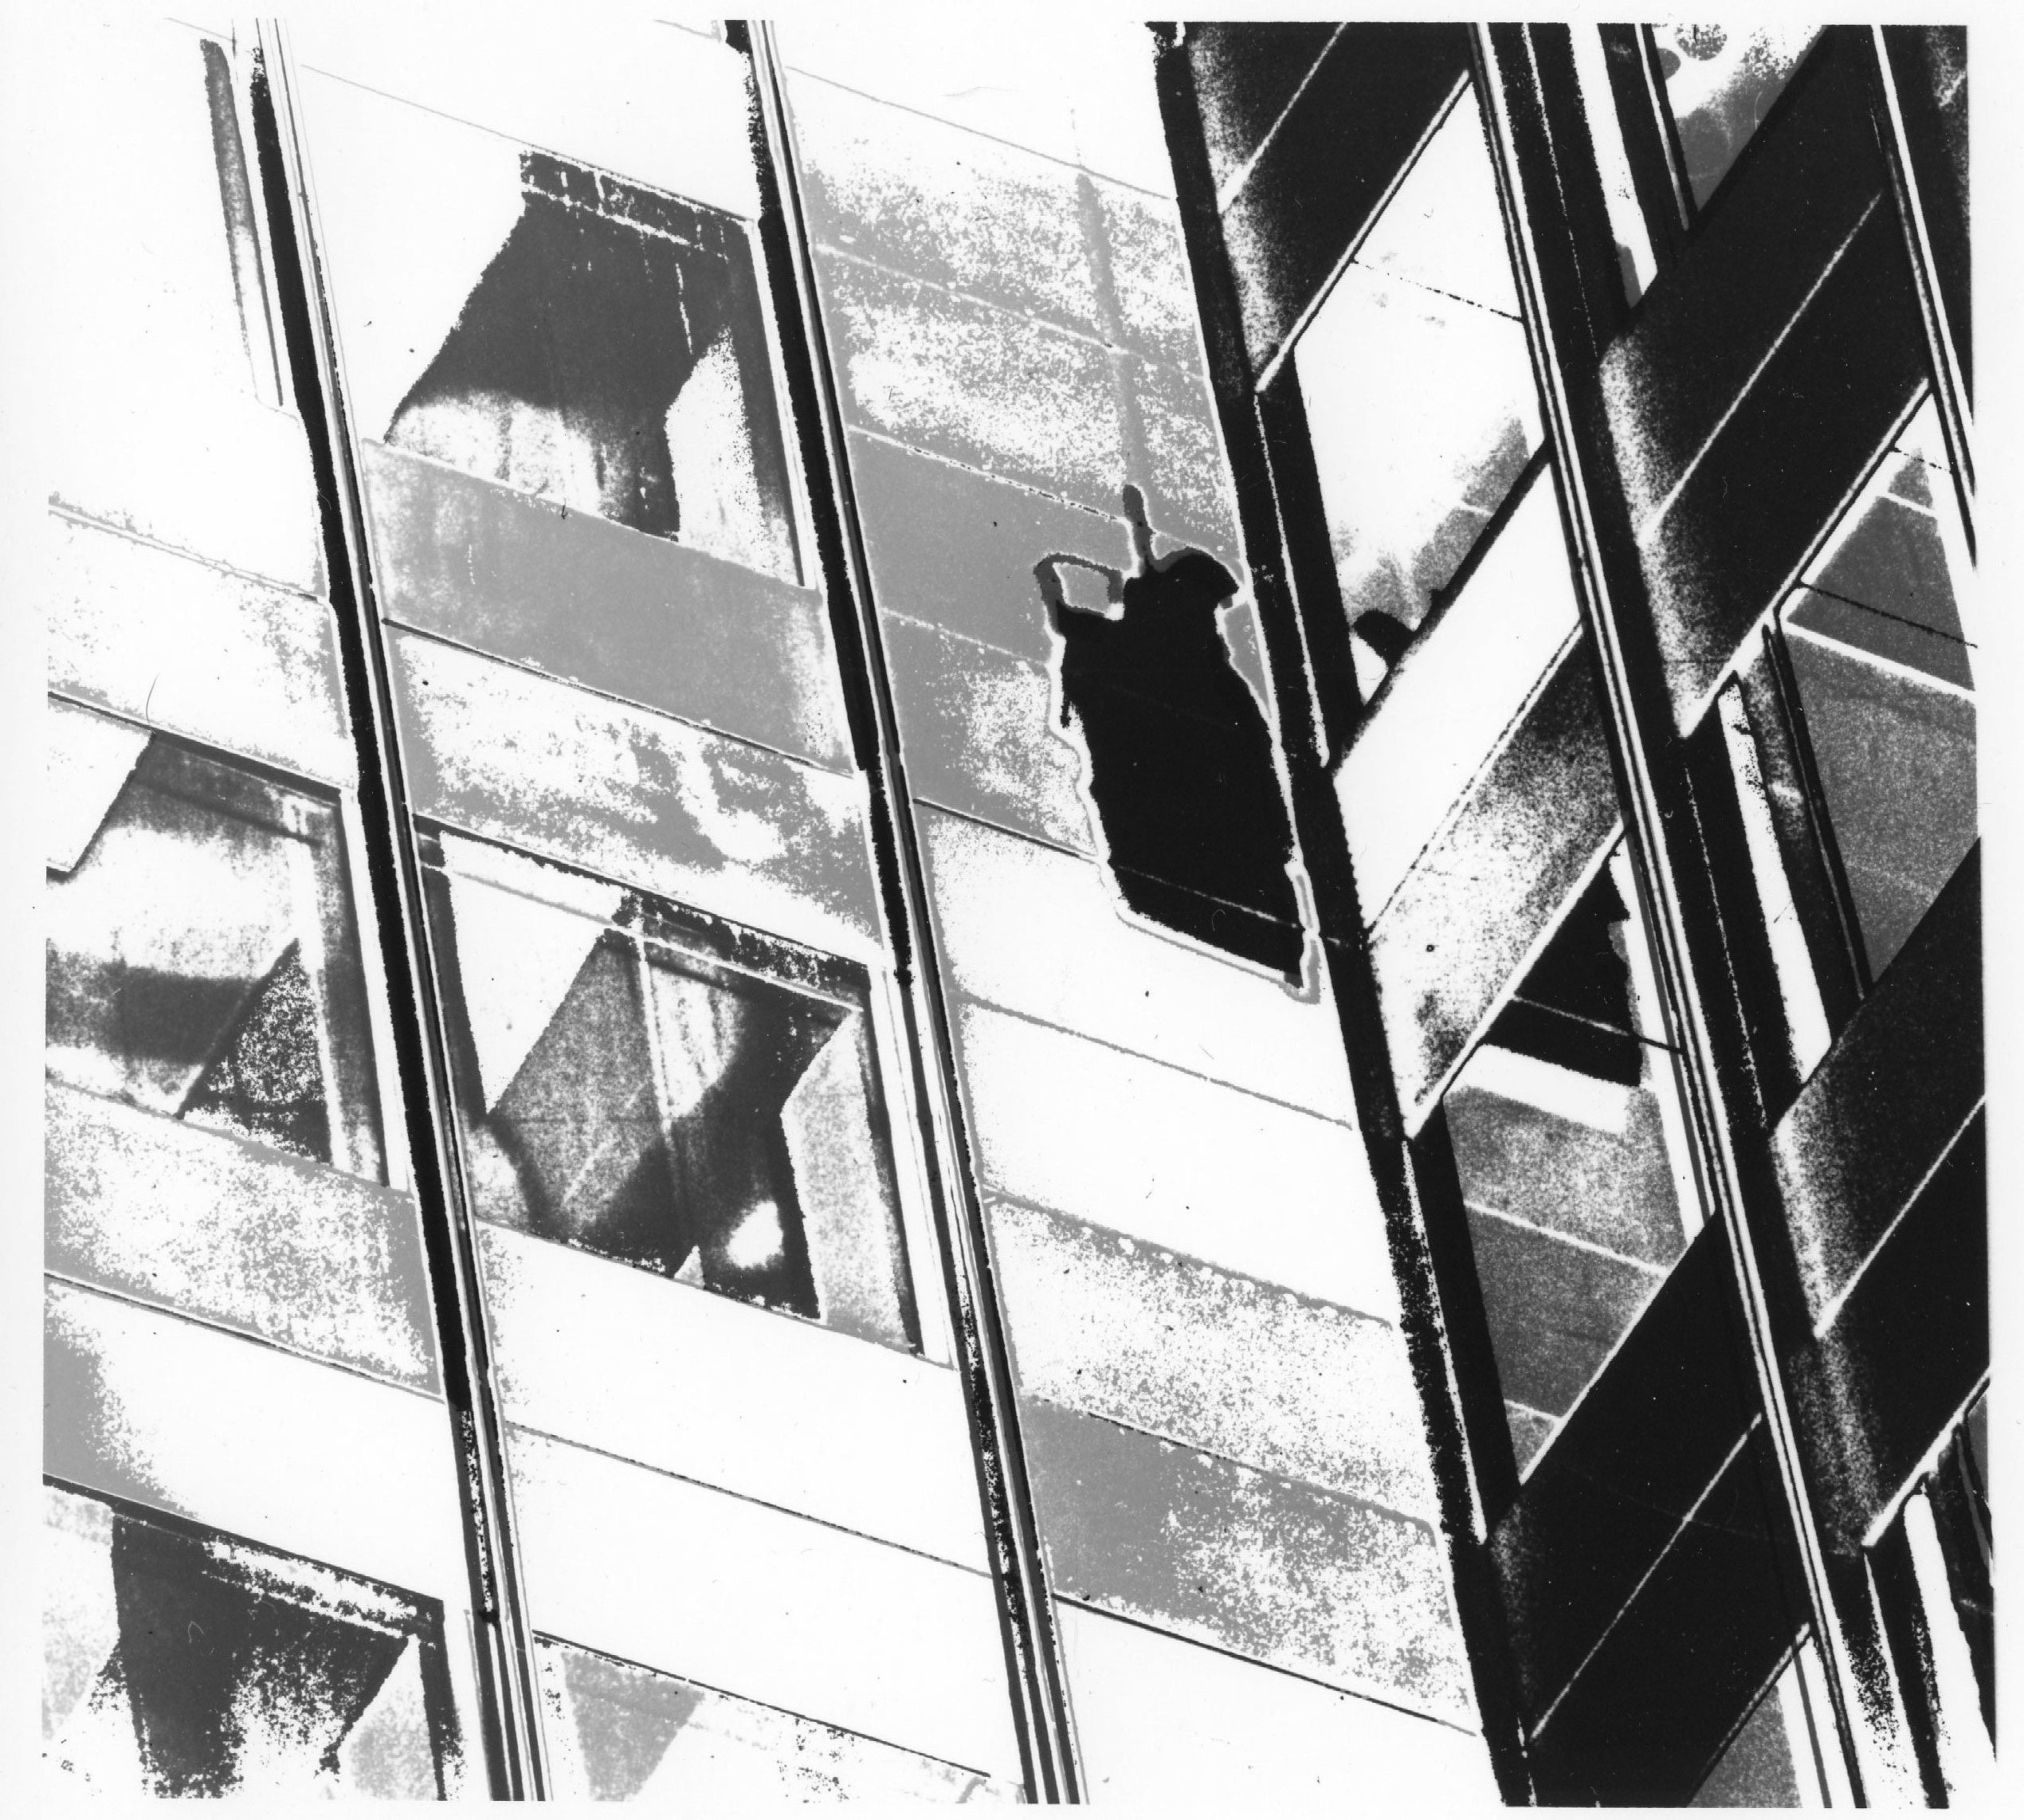
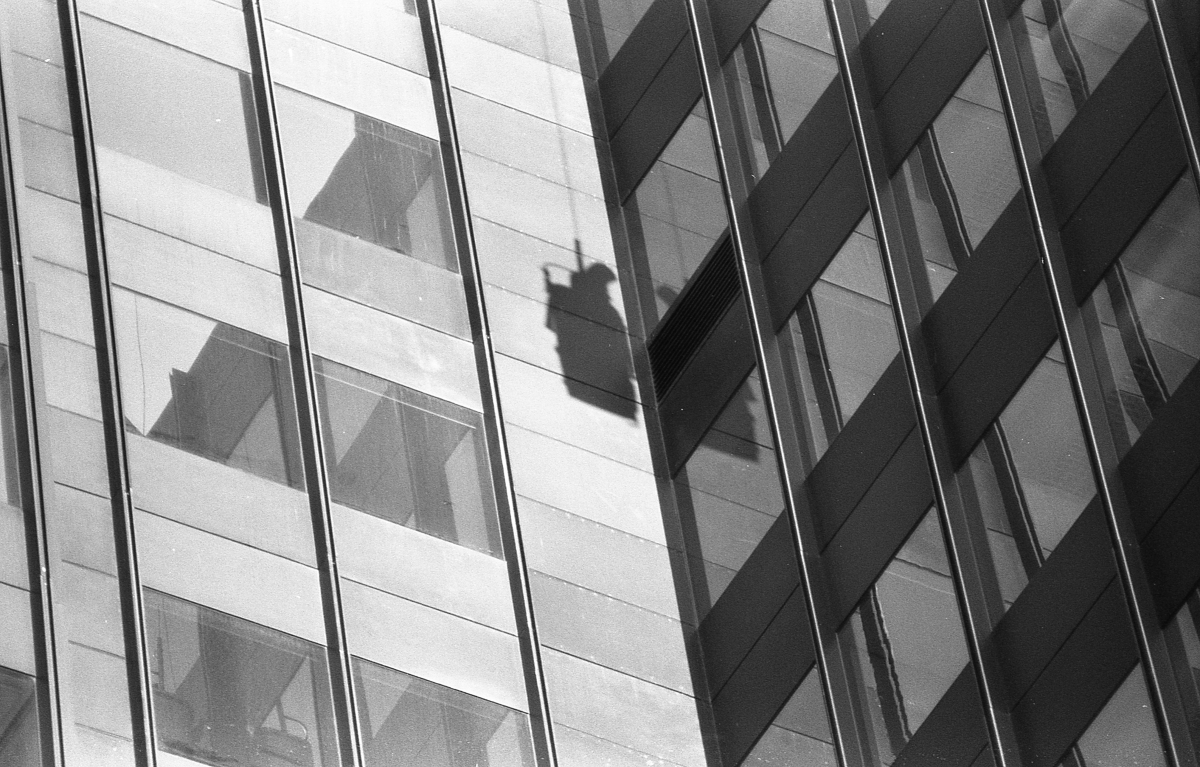 Any image can be used but one with a range of tones and some sharper geometry might be a better choice in getting started. I have several I can use but for this example I will be using one I have titled "Window Washer." This is an image I captured in 1975 in Wiesbaden, Germany. I was wandering the city looking for interesting subjects and saw the window washer working on the side fo a tall building. While I moved around and captured this from different angles, I chose this one becaise it only shows the shadow of the window washer. The original image appears on the right. I used 35mm film.
Making the Tonal Negatives
Film - I am printing the original negative on lithographic film. I am using Arista which I purchase in 8"x10" sheets and cut down to size, in this case, the same size as my Master Template, 2-3/8" x 4". When processed, this film yields pure black or clear areas, with no grays, in other words, very high contrast.
Safelight - I am using a red safelight in my darkroom.
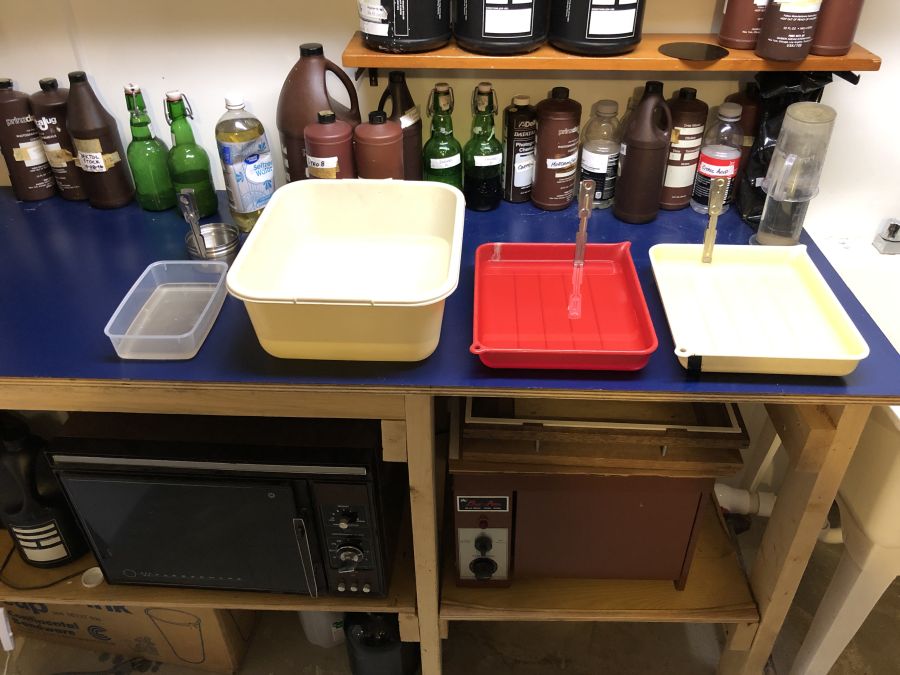 Processing - I am using Developer 70, a litho developer, that I purchase from Photographer's Formulary. It comes in 2 parts, A and B, which are then combined 1:1 when it's time to be used. It does not keep well once mixed so planning ahead is the most economical approach. I mix up 16 ounces or so and develop in a small plastic container rather than a regular photographic tray. The developer is very alkaline and rather than drag it into my acetic acid stop bath directly, I wash it in a water bath first. I then use a standard fixer, wash, and dry to complete the processing steps.
Safety - As recommended by the supplier, avoid contact with the developer. I have used tongs but am wary of scratching the film, plus, the film is quite slippery in the developer. I started using latex gloves and found that to work quite well. However, I am dealing with some "staining" in the clear areas of the film and I think it might be from the warmth of my fingers causing the film to over-develop where I touch it. My darkroom is cold, about 60 degrees F, so I try to avoid over-handling the film and doing so only by the edges. This is a problem that I as still grappling with.
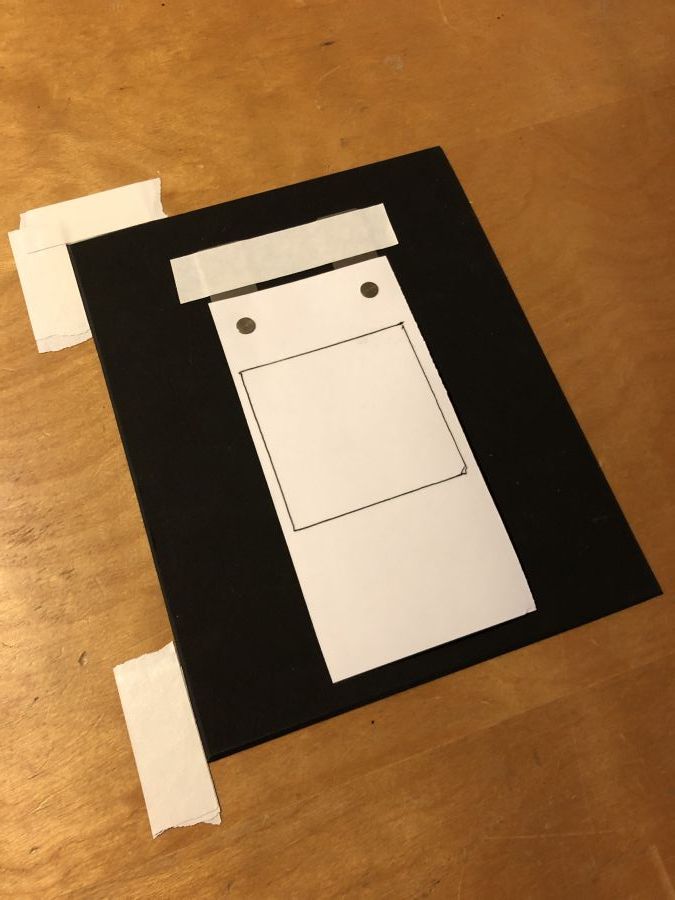 | Setting Up - Place the easel we made in previous step under the enlarger and place the Master Template on it. Place the original image's negative in the enlarger and make the necessary adjustments to project and focus the image into the marked area of the master template. Note, I am printing from a 35mm negative so I am using my 35mm negative carrier at this time. Registration on the negative stage is not important at this step. |
Making the Exposure - Because the distance between the enlarger and the easel is short, the light will be intense and probably too bright even with the lens stopped down all the way. To reduced the light intensity, there are several strategies:
#1 - Place a neutral density filter over the lens.
#2 - Place equal amounts of yellow, magenta, and cyan color filters in the filter drawer of the enlarger
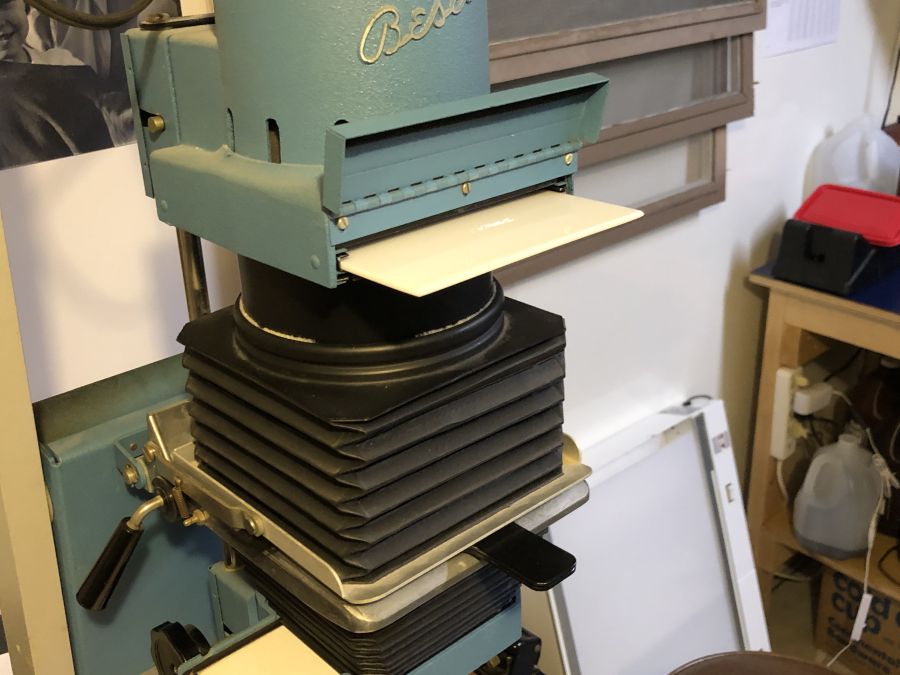
#3 - Place a piece of diffusing plastic in the enlarger's filter drawer (shown on the left)
#4 - Use a longer focal length lens with a small f/stop
#5 - Put the enlarger's light source on a dimmer switch
 | I've tried several of these methods and have gone with #4 as the most convenient. |
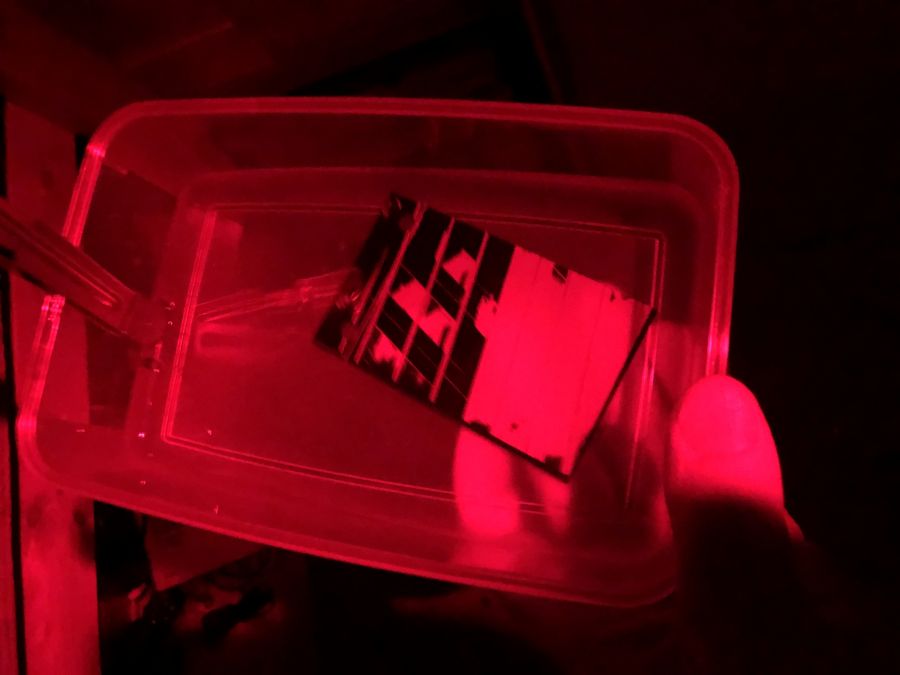
Exposures - I cut several sheets of the litho film to the proper size and punch each one to receive the registration holes. It is important to be consistent at this point. I punch the holes with the emulsion side facing up. Under the safelight, the emulsion side is the lighter of the two sides of the film. I keep the punched films in a light safe box near the enlarger.
I place one piece of the punched film, emulsion side up, on the easel and make sure that the holes in the film are located on the buttons of the pins. I then make a standard exposure test wedge, develop and fix the film, and then examine the results in the light. What I want to know is what is the shortest exposue I can give it that provides a bit of the original image and what is the longest exposure that doesn't quite black out eveything.
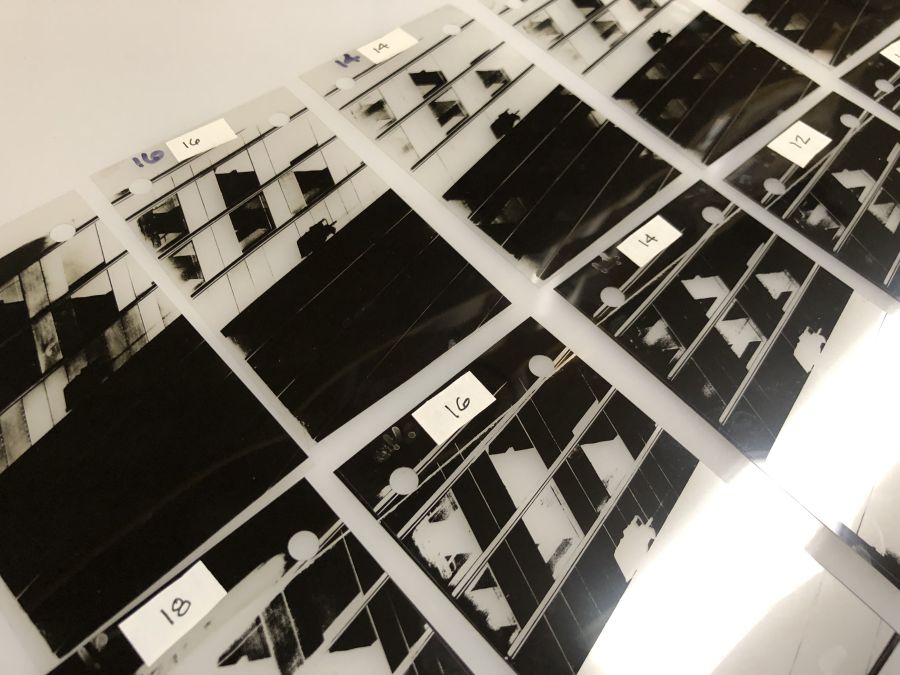
After running these tests, I make a series of exposures on 9 pieces of litho film. Each piece of film is placed on the easel with the holes in the film pressed onto the buttons of the registration pins. The exposure times I used for each were 4, 6, 8, 10, 12, 14, 16, 18, and 20 seconds.
 Processing - I develop these, two at a time, for 3 minutes in the developer, a 30-second rinse in water, a minute in the stop bath, and then 2-3 minutes in the fixer. Fixing time is determined by testing how long it takes the film to clear and then doubling that time. After that they get a 5-minute wash in running water, a dip in a wetting agent (Photo-Flo), and then hung to dry.
 | While these are drying, take a break. |
Making the Negatives
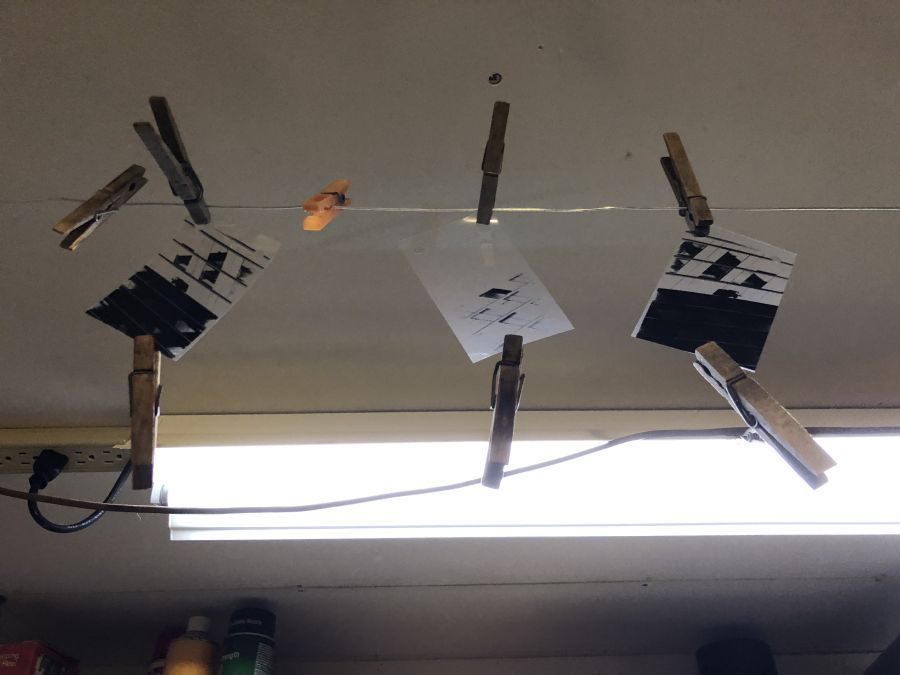
 What I've got now are a series of positives. The photo on the left shows them on a light table. The number on each is the exposure time used. Notice how they increase in density as the exposure time increases.
The next step is to make a corresponding set of negatives from these positives by contact printing.
I set up the enlarger for this process by removing the original negative and placing the 35mm carrier back in the enlarger with no film in it. I raise the enlarger to where the magnification scale reads "20." I switch to my 50mm enlarger lens and stop it down to f/16. I adjust the focus to where the edges of the carrier are sharp on the baseboard. This is my standard setup for any contact printing.
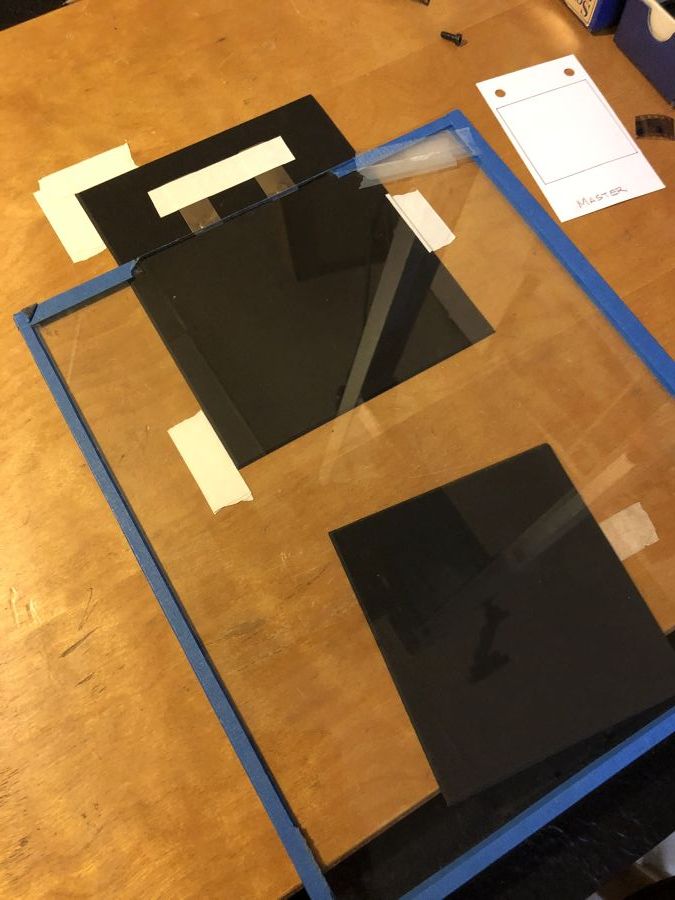 The position of our easel from the previous steps should be fine but I add another piece of matte board next to it so that the glass I will use will lay flat across the exposure area. I have the positives laid out nearby in some kind order, easy to pick up. In the dark, under the safelight, I place a piece of fresh litho film, emulsion side up, on the registration pins and then I place one on the positives on it, emulsion side up, locking on the pins.
Yes, I know, contact printing is usually done with emulsion toward emulsion, but I want to make sure we don't have registration issues down the road. It is likely that the pins are not exactly centered and flipping the positive over could lead to problems. The slight difference caused by the thickness of the litho film really isn't much of an issue at this point.
I next place the piece of glass over the film to hold it flat and then make the exposure. With this setup, testing tells me that 8-1/2 seconds will yield a good negative. I repeat this for each of the positives, using the same exposure time for each. These films are then processed the same way as the negatives and hung to dry.
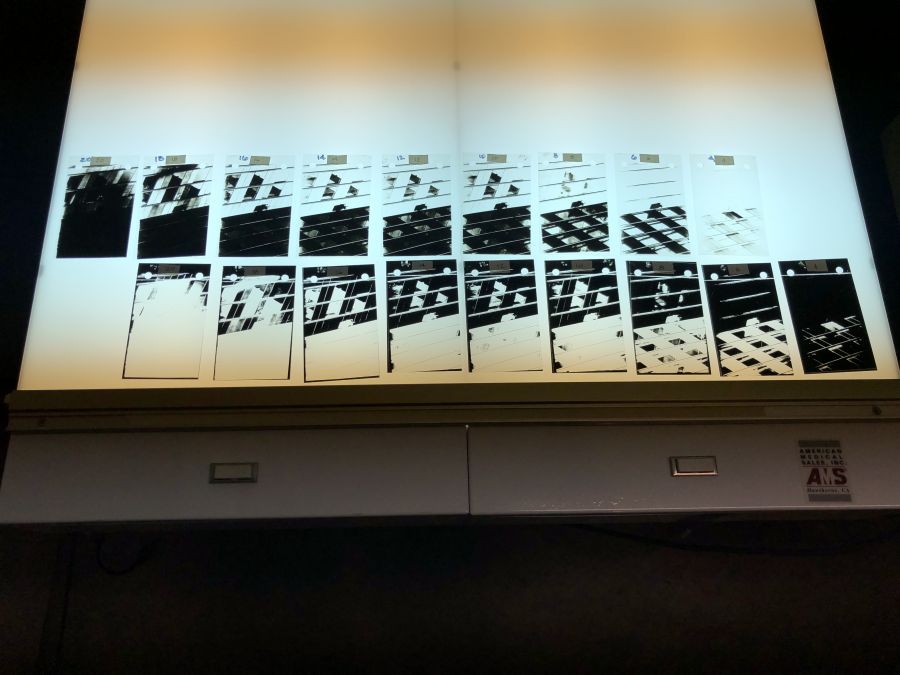
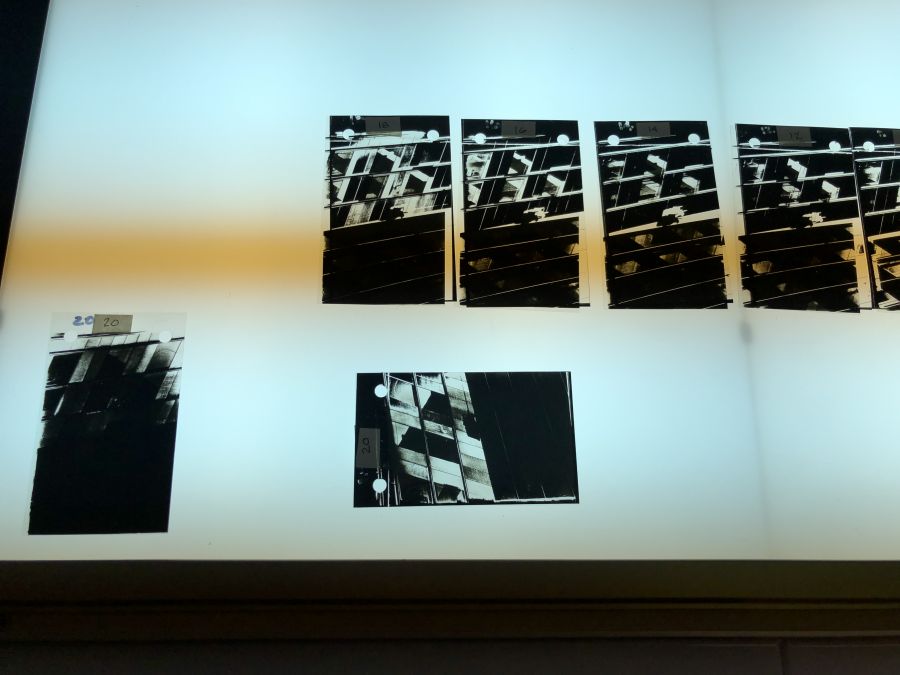
After drying, I have found it helpfull to attach a paper label to each piece of film and write the exposure time on it. From this point on I will refer to each piece of film by its exposure time and whether it was a positive of a negative. For example, the positive which received an 8-second exposure is "8P" and the film that was contact printed from it is "8N."
I lay these films out on my light table, shown here with the positives in the top row and their corresponding negatives under them in the bottom row. A close up is shown on the right.
 |  |
Making the Tonal Filters - One way to do assemble these filers is to offset one of the rows, either to the left or the right by one position. See the photo below, on the left where the negatives in the bottom row were moved to the right. Then one row is moved on top of the other row creating a 2-layer sandwich of film, a positive plus a negative, as seen in the photo below on the right.
 |  |
Note, one does not have to follow tradition by shifting the rows by one position to the right or left. It is possible, and even advisable, to combine any combination of positives and negatives.
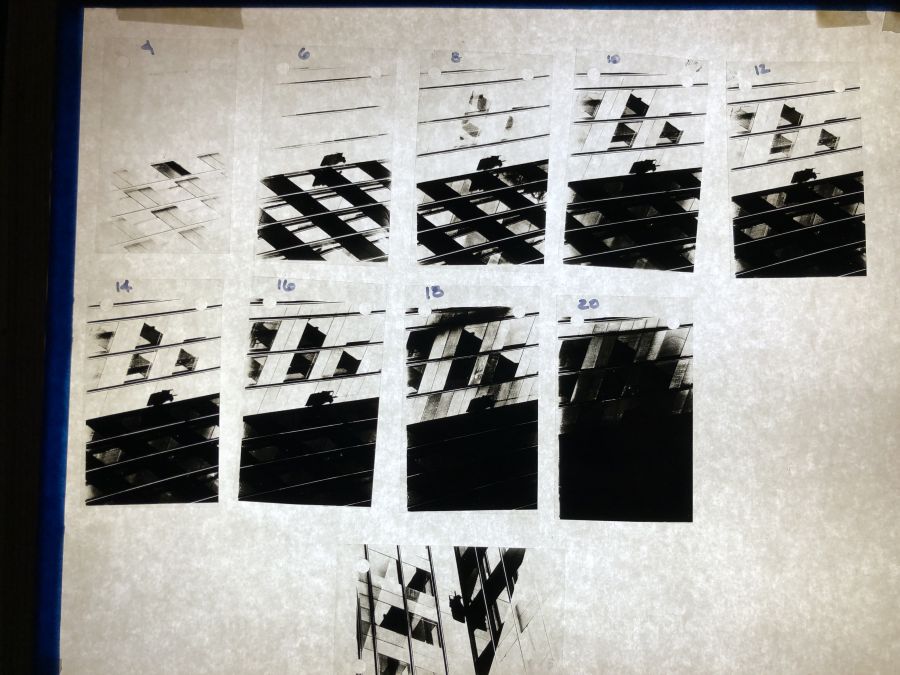
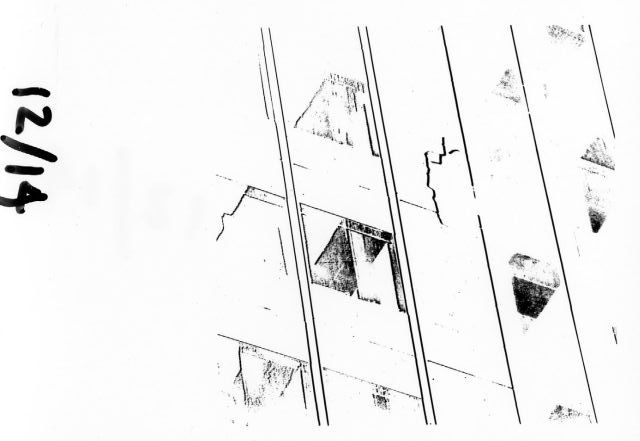
What the Tonal Filters will Yield - While this is not a required step in the process, it is, for the purpose of this description, helpful in seeing what part/region of the original image a tonal filter will print. To do this, I made seven 4"x5" prints, one from each filter pair. They are shown below with the designations as to whick films were combined. For example, in the top left, I combined film 4P with 6N to produce the image shown.
Note how each of these prints provides a different level of the original image.
 4P + 6N |
 6P + 8N |
 8P + 10N |
 10P + 12N |
 12P + 14N |
 14P + 16N |
 16P + 18N |
 18P + 20N |
Notice how each image shows a different area of the original image.
To illustrate that the combination don't just have to come from the adjacent exposures, here are two more.
 6P + 12N |
 14P + 20N |
These two show that more information can be passed when the N + P are farther apart in the sequence.
For this next illustation, I set the darkroom up for printing medium format film. I adjusted the condenser and changed to my 80mm lens. I switched to my amber safelights. I pour paper developr, Dektol, into a developing tray. I placed a Tonal Filter (one of the positive and a negative sandwiches) in the medium format carrier, locking them on the carrier's registration pins. I put the carrier in the enlarger, locating the carrier's pin in the hole of the negative stage.
I adjusted the enlarger to give me an image about 8"x10" using my regular printing easel. I then made an exposure test wedge on regular enlarging paper (Ilford MGVC) and developed it normally. After fixing, I examined it, looking for a range of gray tones. I want to print 3 separate exposures through the Tonal Filters and decide that 2, 4, and 10 seconds will work.
I place a full sheet of photo paper in the easel and then make a 2-second exposure with 16P + 18N in the negative carrier. Without moving the paper, I switch to the Tonal Filet 8P + 10N for a 4-seconf exposure, followed by 4P + 6N for 10-seconds. I processed that print and, happy with the results, tried another filter combination (which I didn't record.)
Here are two the prints:
As you can see, by varying the filters and exposures used, different effects can be achieved.
Where to Go From Here
Printing on black and white photographic paper by enlarging the Tonal Filters is not the only option for creating final images. It is possible to do the same but to use color paper and color processing. Instead of just varying the tones, each filter can pass a chosen color. When I have done this in the past, I used "color cut-off" filters. These come in various colors and will pass only one colors. Results can be seen on the Gallery page.
Another option is to print these using alternative processes such a silk-screen printing or cyanotypes. In these processes, which will rely on contact printing, I want images larger than the 2-1/4" squares that make up the set of Tonal Filters. To accomplish this, I would use the same set up as enlarging on phto paper but print on large sheets of litho paper. I call these my Master Filters as they represent the positive and negative sandwich in one piece of film. Keep in mind that when moving to this step, you get an opposite image, that is, a negative from a positive or a positive from a negative. If the Master Filter is the opposite of what you want, contact print it onto another sheet of litho film to reverse it.
These Master Filters can be used to make contact prints in the cyanotype process or to expose a photo-sensitive stencil for silk-screening. The options are varied.
Visit Page 3 which has a Gallery of posterizations I've done over the years.
Go to Page 1 - Introduction and Creating a Registration System
Go to Page 3 - Other Processes
Go to Gallery Page
Updated March 2023.